You’ve probably seen the ads: “Spring HVAC tune-up — only $89!” But have you ever wondered what actually happens during that visit? What does the technician do for 60–90 minutes? Is it really worth it, or are you just paying someone to change a filter you could change yourself?
Here’s the truth: a proper spring HVAC tune-up checklist includes 20+ inspection points, specialized equipment you don’t own, and diagnostic tests that can catch a $200 problem before it becomes a $5,000 emergency. In this post, we’re pulling back the curtain on exactly what a qualified HVAC technician checks during a spring tune-up—and why each step matters for Bay Area homeowners.
Spring HVAC Tune-Up Checklist: What’s Included
| Category | What the Technician Checks | Why It Matters |
| Electrical | Capacitors, contactors, wiring, amp draw | Prevents no-start failures during heat waves |
| Refrigerant | Charge levels, line temperatures, leak signs | Low charge = poor cooling + compressor damage |
| Airflow | Filter, blower motor, coils, ductwork | Restricted airflow = frozen coils + high bills |
| Controls | Thermostat calibration, safety switches, sequences | Ensures proper operation and safe shutoff |
| Drainage | Condensate drain, pan, float switch | Prevents water damage and system shutoff |
| Outdoor Unit | Condenser coil, fan motor, electrical connections | Dirty coil = 30% efficiency loss |
| Performance | Temperature split, cycle times, overall output | Verifies system meets manufacturer specs |
The Arrival: What Happens First
When a qualified technician arrives for your spring HVAC tune-up, they don’t just walk to the furnace and start poking around. Here’s how a professional visit typically starts:
The interview: A good technician asks questions before touching anything. They want to know: – Have you noticed any issues? Strange noises, uneven cooling, high bills? – How old is your system? – When was the last time it was serviced? – Any rooms that are always too hot or too cold?
This isn’t small talk—it’s diagnostic information that guides the inspection. A homeowner who says “the upstairs is always 5 degrees warmer” tells the technician to pay extra attention to ductwork, airflow balance, and refrigerant charge.
The thermostat check: Before heading to the equipment, the technician verifies your thermostat settings, checks calibration (is the displayed temperature accurate?), and tests the system’s response in both heating and cooling modes. If your thermostat is outdated, they may recommend a programmable or smart thermostat upgrade that pays for itself in energy savings.
Electrical System Inspection: The Silent Killer of AC Systems
This is arguably the most important part of the spring HVAC tune-up checklist—and the part most homeowners know least about.
Capacitor Testing
Your AC has two types of capacitors: a start capacitor (provides the initial jolt to start the compressor) and a run capacitor (keeps the compressor and fan motor running at the correct speed). These are cylindrical components that store electrical energy, and they degrade with age and heat.
What the technician does: – Powers down the system and discharges the capacitor safely (capacitors hold a dangerous charge even when the system is off) – Uses a multimeter to measure capacitance in microfarads (μF) and compares to the rating printed on the capacitor – A reading more than 5–10% below the rated value means the capacitor is failing
Why it matters: Capacitor failure is the #1 cause of AC no-start calls during Bay Area summer heat waves. A $15 capacitor that fails on a 105°F Saturday in Livermore turns into a $250+ emergency service call. Catching a weak capacitor during a spring tune-up is the definition of preventive maintenance.
Contactor Inspection
The contactor is an electrically controlled switch that connects power to your compressor and condenser fan. Over time, the contact points pit and burn from repeated arcing.
What the technician does: – Inspects the contactor face for pitting, burn marks, or welding – Checks that the contactor pulls in and releases cleanly – Tests the coil voltage – Looks for signs of ant or insect infestation (ants are attracted to the electrical field and can jam the contactor—this is surprisingly common in the Bay Area)
Wiring and Connection Tightening
Vibration from the compressor and blower motor causes electrical connections to loosen over time. A loose wire can cause intermittent failures, blown fuses, or even a fire.
What the technician does: – Tightens every accessible electrical connection in the system – Checks wire insulation for heat damage, cracking, or rodent chewing – Measures amp draw on the compressor and blower motor and compares to manufacturer specifications – Tests for proper voltage at the disconnect and the unit
Refrigerant System: The Lifeblood of Your AC
Refrigerant Charge Measurement
Your air conditioner doesn’t “burn” refrigerant like a car burns gasoline. The refrigerant (R-410A in newer systems, R-22 in systems installed before 2010) circulates in a closed loop. If the charge is low, it means there’s a leak.
What the technician does: – Connects manifold gauges to the service ports on your refrigerant lines – Measures suction pressure and liquid pressure – Calculates superheat (for fixed orifice systems) or subcooling (for TXV systems) – Compares readings to manufacturer specifications for the current outdoor temperature – Inspects refrigerant lines and connections for oil stains, which indicate a leak
Why it matters: A system that’s just 10% low on refrigerant can lose 20% of its cooling capacity and use 20% more electricity. Over a Bay Area summer, that translates to hundreds of dollars in wasted energy—plus accelerated compressor wear. Learn more about refrigerant leak causes and symptoms.
Refrigerant Line Inspection
The copper lines running between your indoor and outdoor units carry refrigerant. The larger line (suction line) should be insulated; the smaller line (liquid line) is typically bare copper.
What the technician does: – Checks insulation on the suction line for deterioration or gaps – Inspects both lines for kinks, abrasion, or UV damage – Verifies that lines are properly supported and not rubbing against walls or other components – Checks line set connections at both the indoor and outdoor units
Airflow: Where Comfort Meets Efficiency
Airflow problems are responsible for more comfort complaints than any other single issue. A spring HVAC tune-up addresses several critical airflow components.
Air Filter Assessment
Yes, this is something you can (and should) do yourself. But a technician evaluates the filter in context—is the filter type appropriate for your system? Is the MERV rating too high for your blower motor? Is the filter housing sealed properly, or is unfiltered air bypassing the filter?
What the technician does: – Inspects the current filter condition and records the type/MERV rating – Checks the filter housing for gaps or bypasses – Recommends the optimal filter type for your specific system and household needs – Verifies that a high-MERV filter (if installed) isn’t restricting airflow beyond what the blower can handle
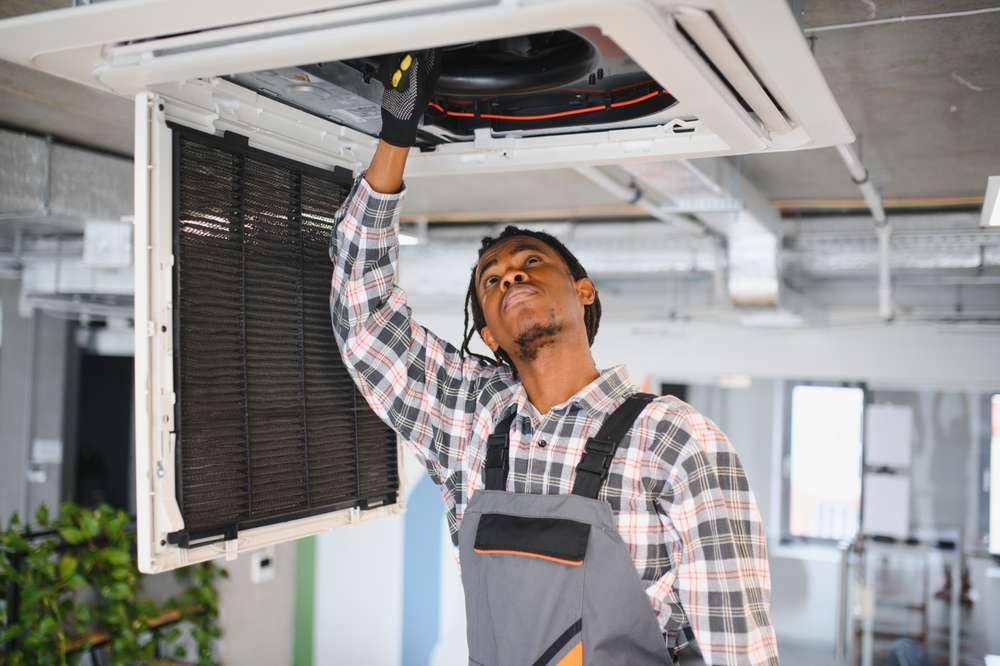
Evaporator Coil Inspection and Cleaning
The evaporator coil sits inside your air handler or on top of your furnace. It’s where refrigerant absorbs heat from your home’s air. Even with a clean filter, this coil collects dust and biological growth over time.
What the technician does: – Accesses the evaporator coil compartment (may require removing an access panel) – Inspects the coil surface for dirt, dust, mold, or biological growth – Applies a no-rinse evaporator coil cleaner if needed – Checks the coil for signs of corrosion or damage – Verifies the coil drain pan is clean and draining properly
Bay Area context: High humidity in coastal areas (San Francisco, Pacifica, Redwood City) promotes mold growth on evaporator coils. If your home has a musty smell when the AC runs, a dirty evaporator coil is often the culprit.
Blower Motor and Assembly
The blower motor pushes conditioned air through your ductwork. It runs every time your system heats or cools, making it one of the hardest-working components.
What the technician does: – Measures blower motor amp draw and compares to rated specifications – Inspects the blower wheel for dirt buildup (a dirty wheel is like running a ceiling fan with weights on the blades) – Checks belt tension on belt-driven blowers (most newer systems use direct-drive motors) – Verifies that the motor speed setting is appropriate for cooling mode (typically set to a higher speed than heating mode) – Listens for bearing noise that indicates impending motor failure
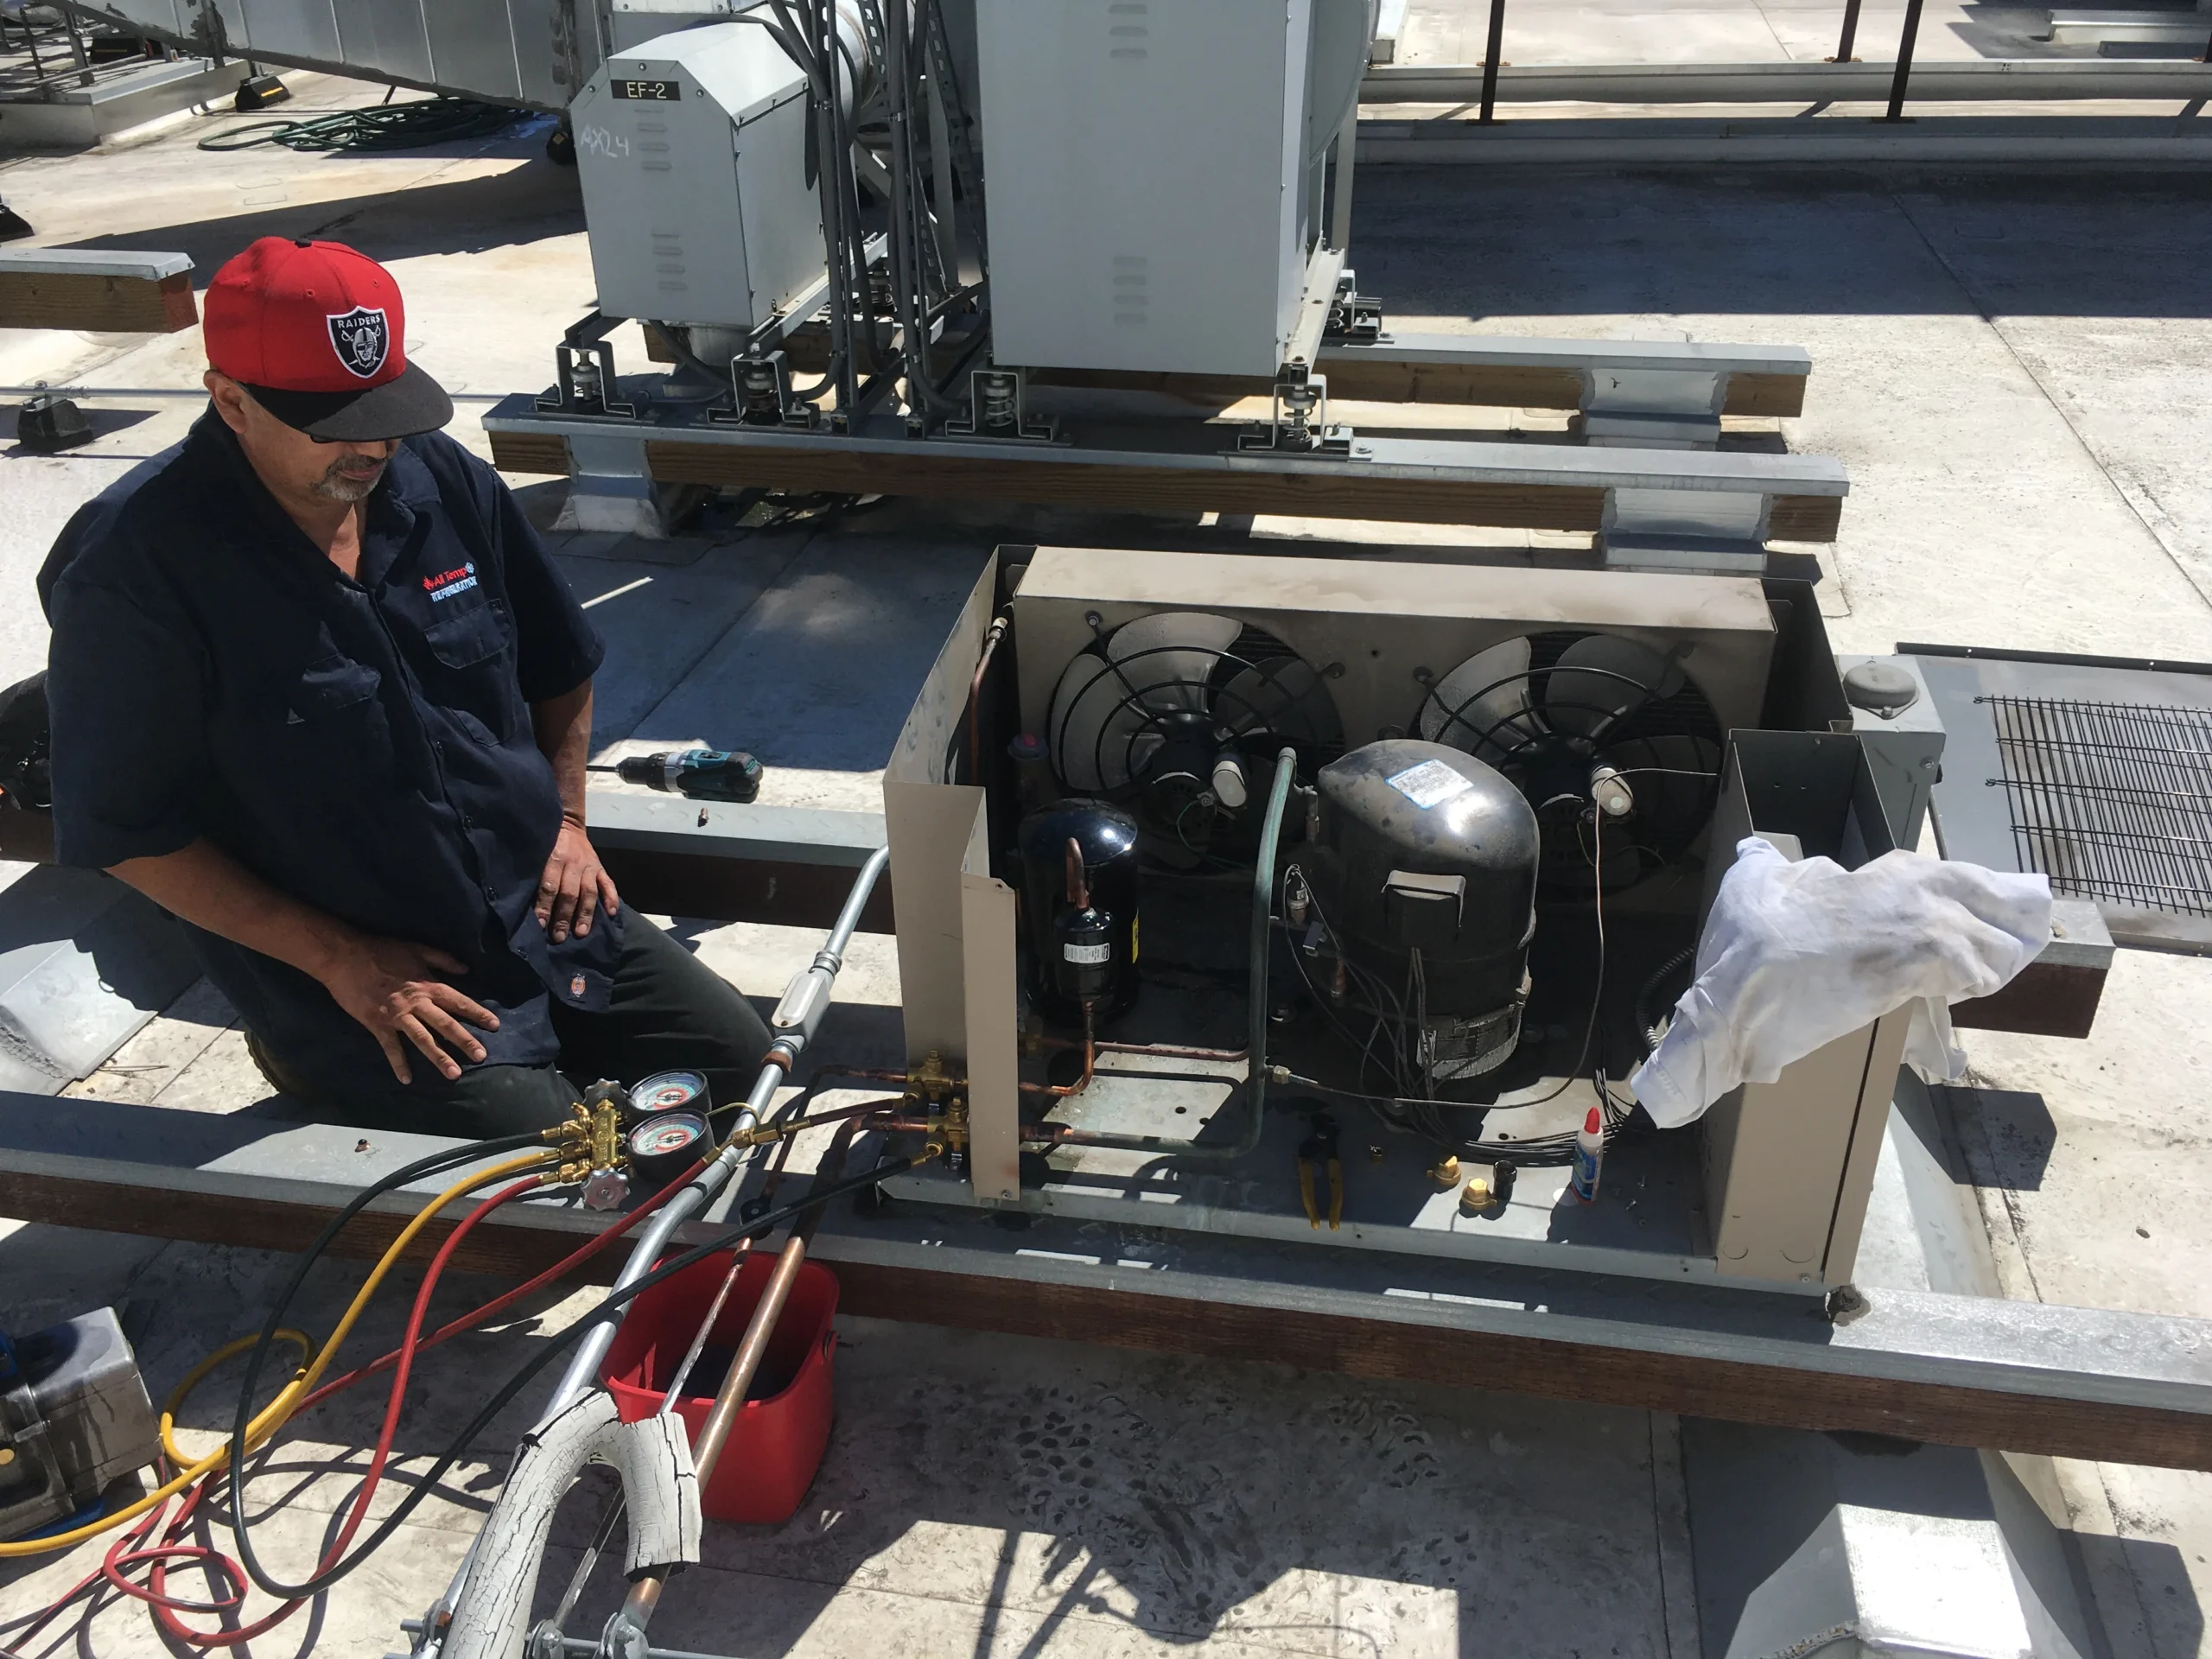
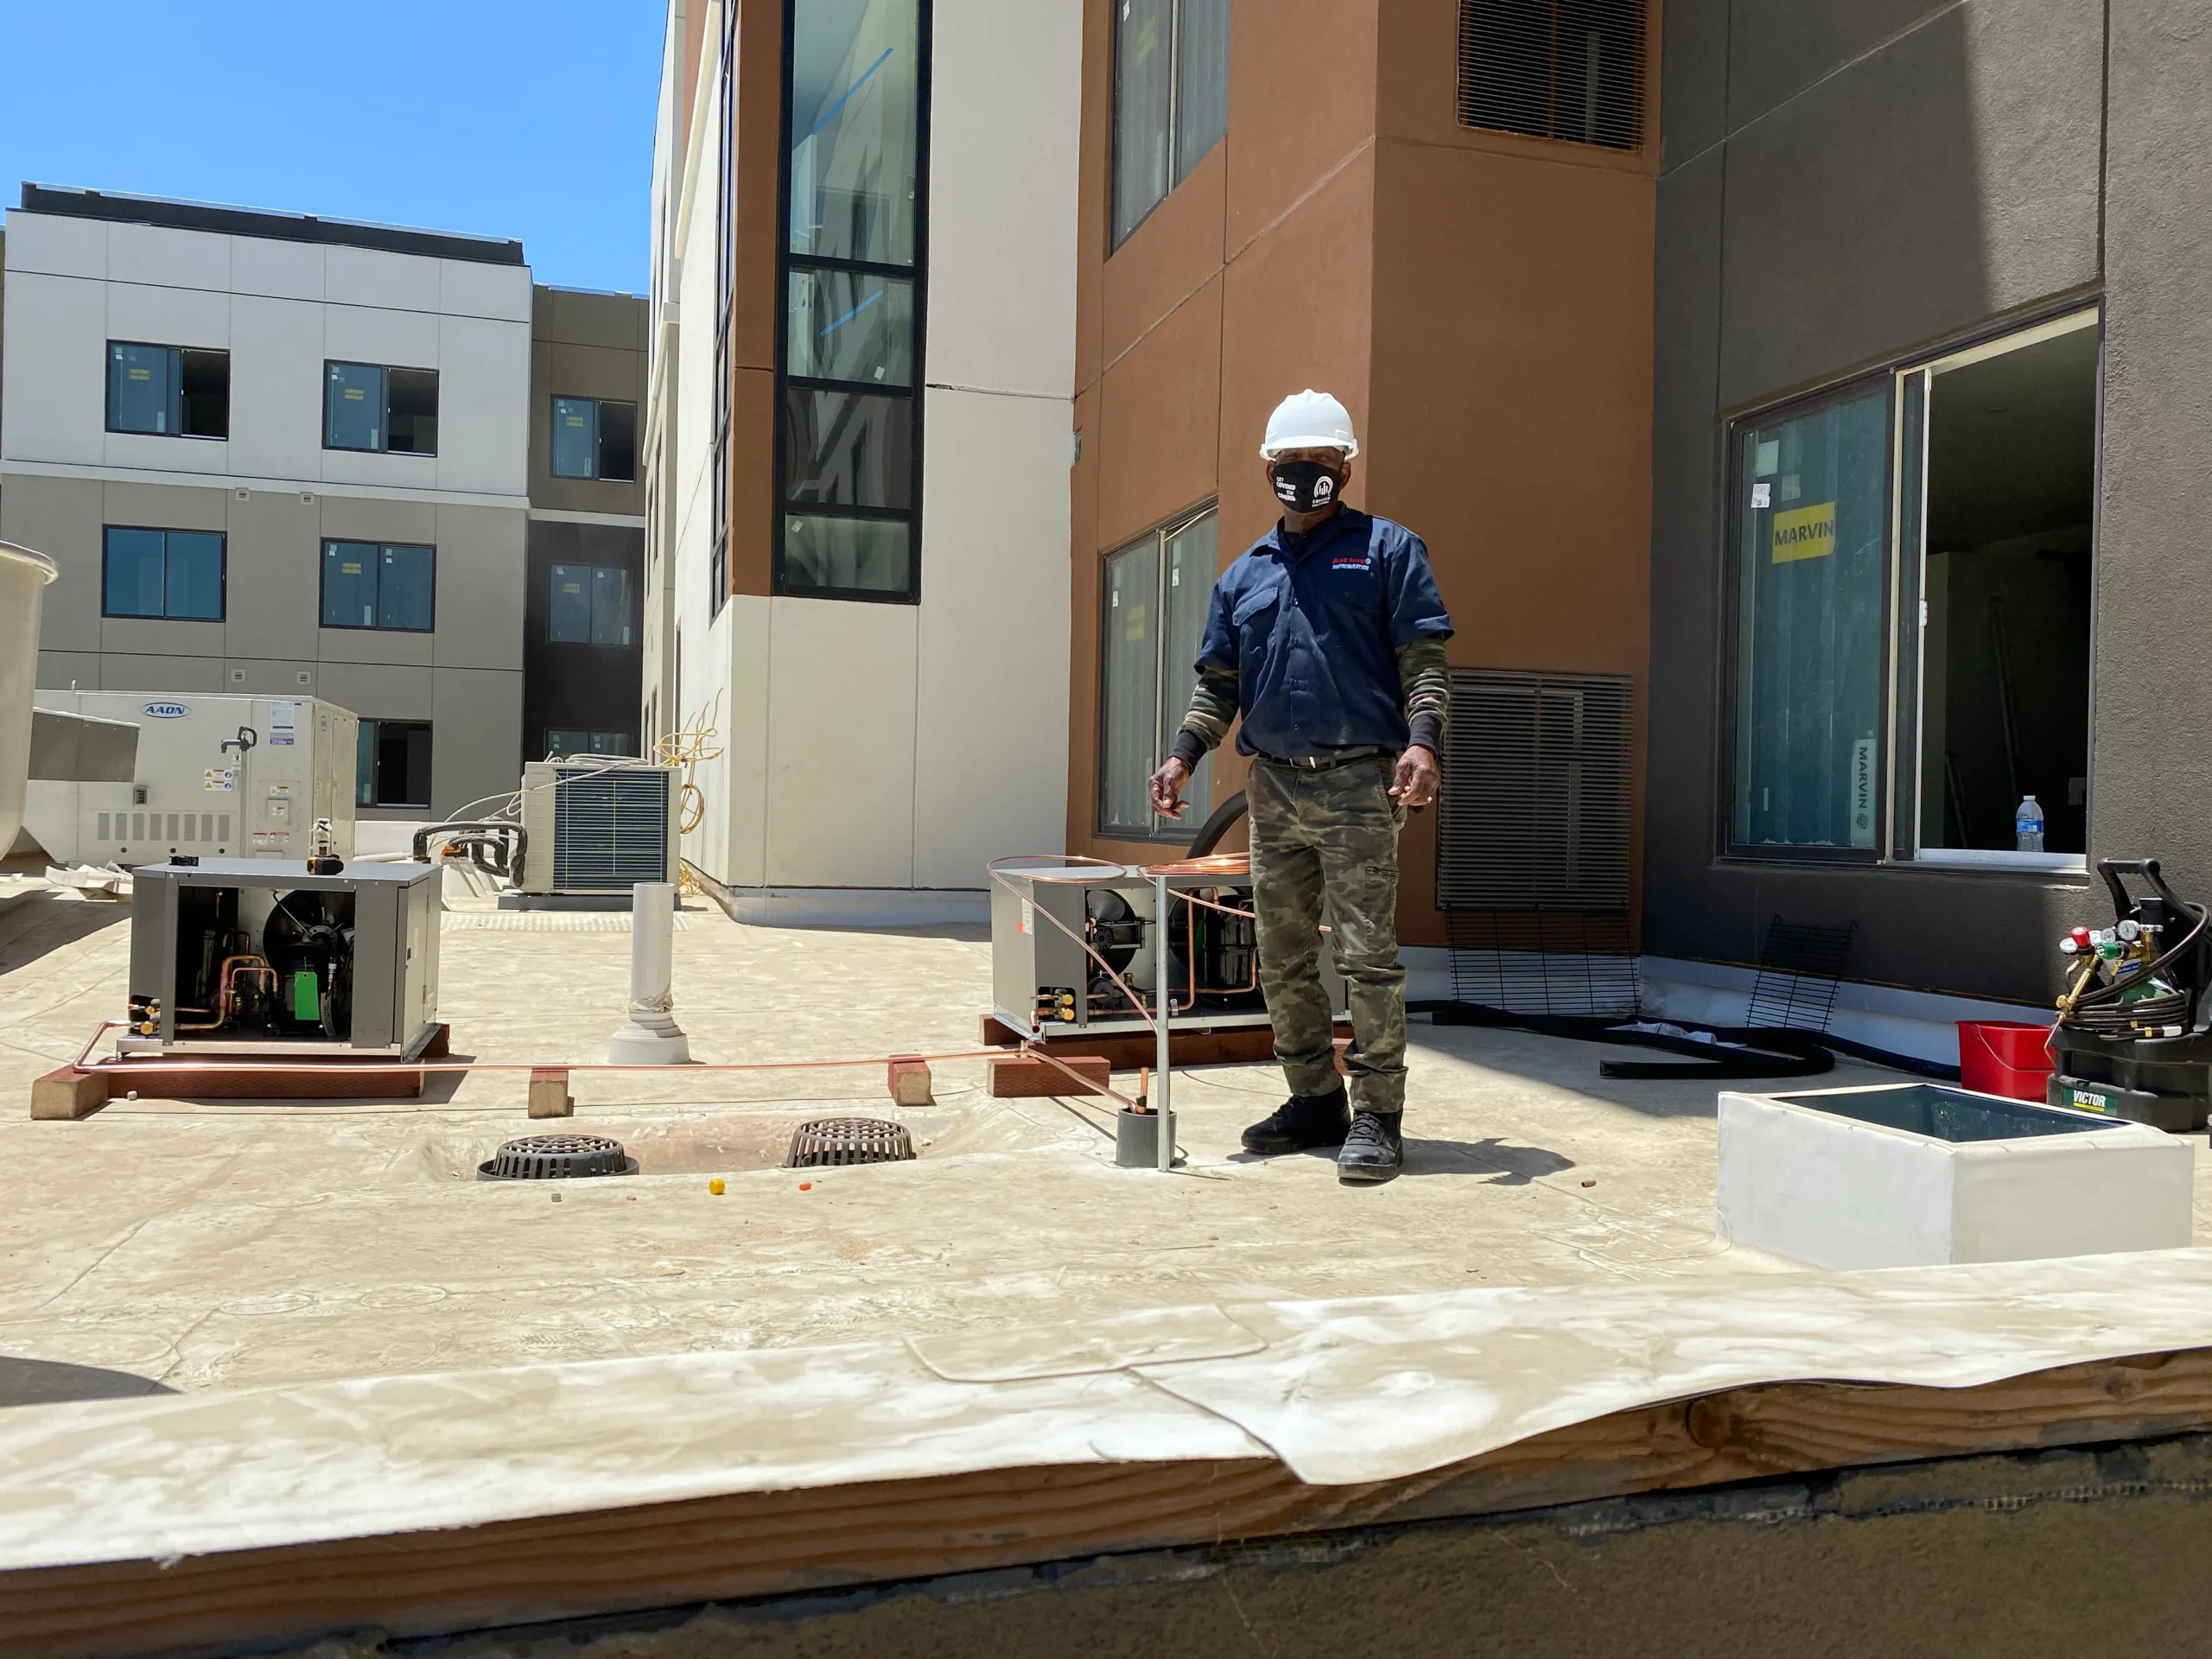
Spring HVAC Tune-Up Checklist: The Outdoor Unit
The condenser unit (that big metal box outside) endures Bay Area weather year-round—rain, coastal salt air, oak pollen, dust, and direct sun.
Condenser Coil Cleaning
This is one of the highest-value services in the entire tune-up. A dirty condenser coil can reduce your system’s efficiency by up to 30%.
What the technician does: – Turns off the system and removes the top grille or fan assembly – Inspects the coil from the inside for matted debris – Applies a commercial condenser coil cleaner – Rinses the coil from inside out with a controlled water stream – Straightens bent fins with a fin comb to restore full airflow – Checks for signs of corrosion, particularly on units exposed to Bay Area coastal air
Condenser Fan Motor
What the technician does: – Tests the fan motor electrically (amp draw, capacitor) – Checks fan blade for cracks, chips, or balance issues – Lubricates bearings if applicable – Verifies proper rotation direction and airflow volume
Base Pan and Drainage
What the technician does: – Cleans the base pan of debris and standing water – Ensures the drain holes are clear – Checks for excessive rust at the base (a sign of aging) – Verifies the unit is level on its pad
Controls and Safety Devices
Safety Switch Testing
Your HVAC system has multiple safety devices designed to shut it down before damage occurs. A spring tune-up verifies they all work.
What the technician does: – Tests the high-pressure switch (shuts down the compressor if refrigerant pressure gets dangerously high) – Tests the low-pressure switch (if equipped—prevents compressor operation when charge is critically low) – Verifies the condensate overflow float switch operates correctly – Tests the furnace limit switch and rollout switches – Checks the emergency shutoff switch
System Sequence of Operations
What the technician does: – Runs the system through a complete cooling cycle from thermostat call to shutoff – Verifies proper startup sequence: inducer → ignition → blower delay → blower on (for heating) – Verifies proper cooling sequence: thermostat call → contactor closes → compressor starts → indoor fan starts – Times the system’s cycle length (short cycling indicates a problem) – Documents any fault codes stored in the system’s control board
Condensate Drain System
Drain Line and Pan
Your AC removes moisture from the air during cooling. That water has to go somewhere—and when it can’t, problems follow fast.
What the technician does: – Flushes the condensate drain line with a cleaning solution – Checks the drain pan under the evaporator coil for cracks, rust, or algae buildup – Tests the condensate overflow float switch – Verifies the drain line terminates properly (outside or to a floor drain) – Clears any blockages using compressed air or a wet/dry vacuum
Why it matters: A clogged condensate drain is one of the top causes of summer AC shutoffs in the Bay Area. It can also cause water damage to ceilings, walls, and insulation—damage that can cost thousands to repair.
The Performance Test: Putting It All Together
After completing all inspection points on the spring HVAC tune-up checklist, the technician performs a final performance verification.
What the technician does: – Measures supply air temperature at the nearest vent to the air handler – Measures return air temperature at the return grille – Calculates the temperature split (should be 15–20°F difference) – If the split is outside that range, investigates: low refrigerant, dirty coil, airflow restriction, or ductwork issue – Records system operating pressures, temperatures, and amp draws for future comparison – Provides a written report of findings, including any recommended repairs
The Report: What You Should Receive
A reputable HVAC company provides a written report after every tune-up. This should include:
- Condition rating for each major component (good, fair, needs attention)
- Any measurements taken (refrigerant pressures, temperature split, amp draws)
- Recommended repairs with estimated costs
- Estimated remaining life of the system
- Photos of any issues found
This report is valuable—keep it with your home records. It helps you track your system’s health over time and provides documentation if you’re selling your home.
How Often Do You Need a Spring HVAC Tune-Up?
For most Bay Area homeowners, twice a year is the standard: a spring tune-up for cooling and a fall tune-up for heating. Think of it like dental cleanings—skipping one won’t cause an immediate disaster, but the problems accumulate. Learn why annual HVAC maintenance really is worth it.
When to schedule more frequently: – Systems older than 15 years – Homes with pets (hair clogs filters and coils faster) – Coastal Bay Area locations (salt air accelerates corrosion) – Homes with poor ductwork or known airflow issues – Commercial properties with rooftop units
FAQ: Spring HVAC Tune-Up Checklist
How long does a spring HVAC tune-up take?
A thorough professional tune-up takes 60–90 minutes. If a technician is in and out in 20 minutes, they’re cutting corners. A comprehensive spring HVAC checklist involves 20+ inspection points, cleaning, and testing that simply takes time to do right.
What does a spring HVAC tune-up cost in the Bay Area?
Expect to pay $89–$175 for a standard tune-up in the Bay Area. Maintenance plans that include both spring and fall tune-ups typically run $150–$300 per year and often include priority scheduling, repair discounts, and extended warranty coverage.
Can I skip the tune-up if my system seems to be working fine?
Technically yes, but it’s not recommended. Many HVAC problems—low refrigerant, weak capacitors, dirty coils, cracked heat exchangers—develop silently. By the time you notice symptoms, the damage is more extensive and the repair is more expensive. A $100–$150 spring tune-up routinely prevents $500–$2,000 in summer repairs.
What’s the difference between a tune-up and a repair?
A tune-up is preventive maintenance: cleaning, inspection, testing, and minor adjustments. It’s done on a system that appears to be working normally. A repair is corrective: fixing something that has already broken or malfunctioned. If the technician discovers a problem during the tune-up, they’ll provide a separate repair estimate.
When is the best time to schedule a spring HVAC tune-up in the Bay Area?
March through early May is ideal. This gives you time to address any issues before the first heat wave, which can hit the Bay Area as early as late May. HVAC companies are busiest from June through September, so spring scheduling gives you shorter wait times and more flexibility.
Schedule Your Spring HVAC Tune-Up with Cool Aid
Now you know exactly what a spring HVAC tune-up includes—and why each step matters. Cool Aid Air Conditioning & Refrigeration has been performing comprehensive tune-ups for Bay Area homeowners since 1966. Our C-20 licensed technicians follow a detailed inspection protocol, provide written reports with every visit, and never recommend repairs you don’t need.
Book your spring tune-up today or call us at 1-800-266-5243. We serve the entire Bay Area—San Jose, Santa Clara, Fremont, Palo Alto, Mountain View, Livermore, Dublin, and everywhere in between. Early spring scheduling gets you the best availability and peace of mind before summer arrives.
Stay Comfortable Year-Round With Expert HVAC Service
Book a trusted technician to handle your heating or cooling issue—fast, professional, and done right the first time.
Book Service Now