Bay Area winters don’t get Minnesota-cold, but they’re sneaky. Temperatures in Livermore, Dublin, and San Jose regularly dip into the upper 30s overnight from November through February. And in older homes—which the Bay Area has plenty of—a furnace that hasn’t been serviced in years can mean more than discomfort. It can mean carbon monoxide leaks, sky-high PG&E bills, or a complete breakdown on the coldest night of the year.
This fall furnace checklist walks you through 12 essential steps to get your heating system ready before Bay Area winter arrives. We’ve organized it with safety-critical items first, followed by efficiency and performance checks, and finally pro-level tasks that require a licensed technician.
Fall Furnace Checklist: Quick Reference Table
| # | Task | DIY or Pro? | Category | Priority |
| 1 | Test carbon monoxide detectors | DIY | Safety | Critical |
| 2 | Check for gas smell near furnace | DIY | Safety | Critical |
| 3 | Replace furnace air filter | DIY | Efficiency | Critical |
| 4 | Test the thermostat in heating mode | DIY | Performance | High |
| 5 | Clear area around furnace | DIY | Safety | High |
| 6 | Inspect the flue/exhaust vent | DIY | Safety | High |
| 7 | Check and clean supply/return vents | DIY | Efficiency | Medium |
| 8 | Inspect visible gas line connections | DIY | Safety | High |
| 9 | Set a filter replacement schedule | DIY | Maintenance | Medium |
| 10 | Professional combustion & safety analysis | Pro | Safety | Critical |
| 11 | Full furnace tune-up & cleaning | Pro | Performance | High |
| 12 | Heat exchanger inspection | Pro | Safety | Critical |
Safety Checks: Start Here First
The first items on this fall furnace checklist are non-negotiable. These are life-safety checks that every Bay Area homeowner should complete before turning on the heat for the season.
Step 1: Test Every Carbon Monoxide Detector in Your Home
Carbon monoxide (CO) is colorless and odorless—you can’t detect it without a working alarm. Every year, furnaces with cracked heat exchangers, blocked flues, or improper venting leak CO into Bay Area homes. Most of these cases are entirely preventable.
What to do: – Press the test button on every CO detector in your home – Make sure you have detectors on every level and within 15 feet of each sleeping area (California law requires this) – Replace batteries in battery-operated units—or replace the unit entirely if it’s over 7 years old – If you don’t have CO detectors, install them immediately. Combination smoke/CO detectors cost $25–$45 at any hardware store – Check that detectors are not expired (manufacture date is on the back)
Bay Area stat: California recorded over 500 CO-related emergency department visits in 2023 alone. Many occur during the first cold snap of the season, when furnaces fire up for the first time in months.
Step 2: Check for Gas Smell Near Your Furnace
Before doing any furnace work, take a moment to check for the distinctive rotten-egg smell of natural gas (mercaptan is added to natural gas specifically so you can detect leaks).
What to do: – Stand near your furnace and take several slow, deep breaths through your nose – Check around gas line connections, the furnace shutoff valve, and the area behind the unit – If you smell gas: do not flip any switches, light any flames, or use your phone inside the house. Leave immediately, take your family, and call PG&E’s emergency line (1-800-743-5000) from outside
Important: A faint “dusty burning” smell when you first turn on your furnace in the fall is normal—it’s dust burning off the heat exchanger. But it should dissipate within 30–60 minutes. If it lingers, or if the smell is distinctly chemical or like rotten eggs, shut the system down and call for emergency HVAC service.
Step 3: Replace Your Furnace Air Filter
This step appears on every fall furnace checklist for good reason—it affects safety, efficiency, and equipment longevity. A clogged filter restricts airflow, causing your furnace to overheat. Modern furnaces have a limit switch that shuts the unit off when it overheats, but repeated cycling damages components and increases the risk of a cracked heat exchanger over time.
What to do: – Locate the filter compartment (usually at the return air duct near the furnace or in a slot on the furnace itself) – Slide out the old filter and note the size (printed on the frame edge) – Insert a new filter with the airflow arrow pointing toward the furnace – Write the installation date on the filter with a marker
Filter replacement schedule by type: | Filter Type | MERV Rating | Replacement Frequency | |————-|————-|———————-| | Fiberglass (1-inch) | MERV 1–4 | Every 30 days | | Pleated (1-inch) | MERV 8–11 | Every 60–90 days | | Deep pleated (4-inch) | MERV 11–13 | Every 4–6 months | | HEPA or hospital-grade | MERV 14–16 | Per manufacturer specs |
Bay Area tip: Wildfire season overlaps with the start of furnace season. If your area experienced smoke events, your filter may be saturated even if you just replaced it. Check it visually—if it’s gray or brown instead of white, replace it. Read more about HVAC filters for Bay Area homes.
Step 4: Test Your Thermostat in Heating Mode
It sounds obvious, but many homeowners haven’t switched their thermostat to heating mode since last winter. This is your chance to verify it works before you actually need it.
What to do: – Switch the thermostat from “cool” or “off” to “heat” – Set the temperature 5 degrees above the current room temperature – Wait 3–5 minutes for the furnace to ignite and the blower to engage – Walk to a supply vent and confirm you feel warm air – If you have a smart thermostat, check that your winter schedule is programmed (68°F when home, 62°F while sleeping, 60°F when away) – Listen for unusual sounds—banging, popping, or repeated clicking may indicate ignition problems
If your furnace won’t turn on, don’t panic. Check the power switch (looks like a regular light switch, usually on or near the furnace), verify the circuit breaker, and make sure the gas valve is open before calling for service.
Step 5: Clear the Area Around Your Furnace
Your furnace needs clearance for proper air circulation and safe operation. Over the summer, garages and utility closets tend to become storage spaces.
What to do: – Remove all items within 3 feet of the furnace on all sides – Never store chemicals, paint, gasoline, or cleaning supplies near the furnace (fumes can enter the combustion chamber) – Ensure the furnace access panel is clear and easy to open for service – Check that nothing is leaning against gas lines or exhaust venting
Step 6: Inspect the Flue and Exhaust Vent
Your furnace’s exhaust venting (flue pipe) carries combustion gases—including carbon monoxide—out of your home. If it’s disconnected, blocked, or corroded, those gases can enter your living space.
What to do: – Visually trace the flue pipe from your furnace to where it exits through the wall or roof – Look for disconnected joints, rust, corrosion, or visible holes – Check that the vent termination outside isn’t blocked by debris, bird nests, or vegetation – For high-efficiency (90%+ AFUE) furnaces, check the PVC intake and exhaust pipes outside—these are lower to the ground and more likely to get blocked by leaves, snow, or landscaping
Step 7: Check and Clean All Supply and Return Vents
Blocked vents force your furnace to work harder and create pressure imbalances that lead to cold spots, uneven heating, and wasted energy.
What to do: – Walk through every room and locate each heating vent and return air grille – Make sure no furniture, rugs, drapes, or toys are blocking them – Remove vent covers, vacuum out dust and debris, and replace – Keep all vents open—even in rooms you don’t use frequently (closing them creates duct pressure problems)
Step 8: Inspect Visible Gas Line Connections
While you’re near the furnace, take a look at the gas line that feeds it.
What to do: – Check for any signs of corrosion on the gas line, especially at fittings and unions – Look for a black flexible gas connector (CSST)—if it’s older and not bonded/grounded, mention this to your HVAC technician – Ensure the manual gas shutoff valve (usually a lever handle on the pipe near the furnace) moves freely – Never attempt to tighten or adjust gas fittings yourself—this is always a job for a licensed professional
Step 9: Set a Filter Replacement Schedule
Don’t rely on memory. Set yourself up for the entire heating season.
What to do: – Set phone reminders to check your filter on the first of each month (November through March) – Buy 3–4 replacement filters at once so you always have one ready – If you have pets—especially dogs or cats that shed—check filters every 3–4 weeks during heating season – Consider subscribing to a filter delivery service if you use standard sizes
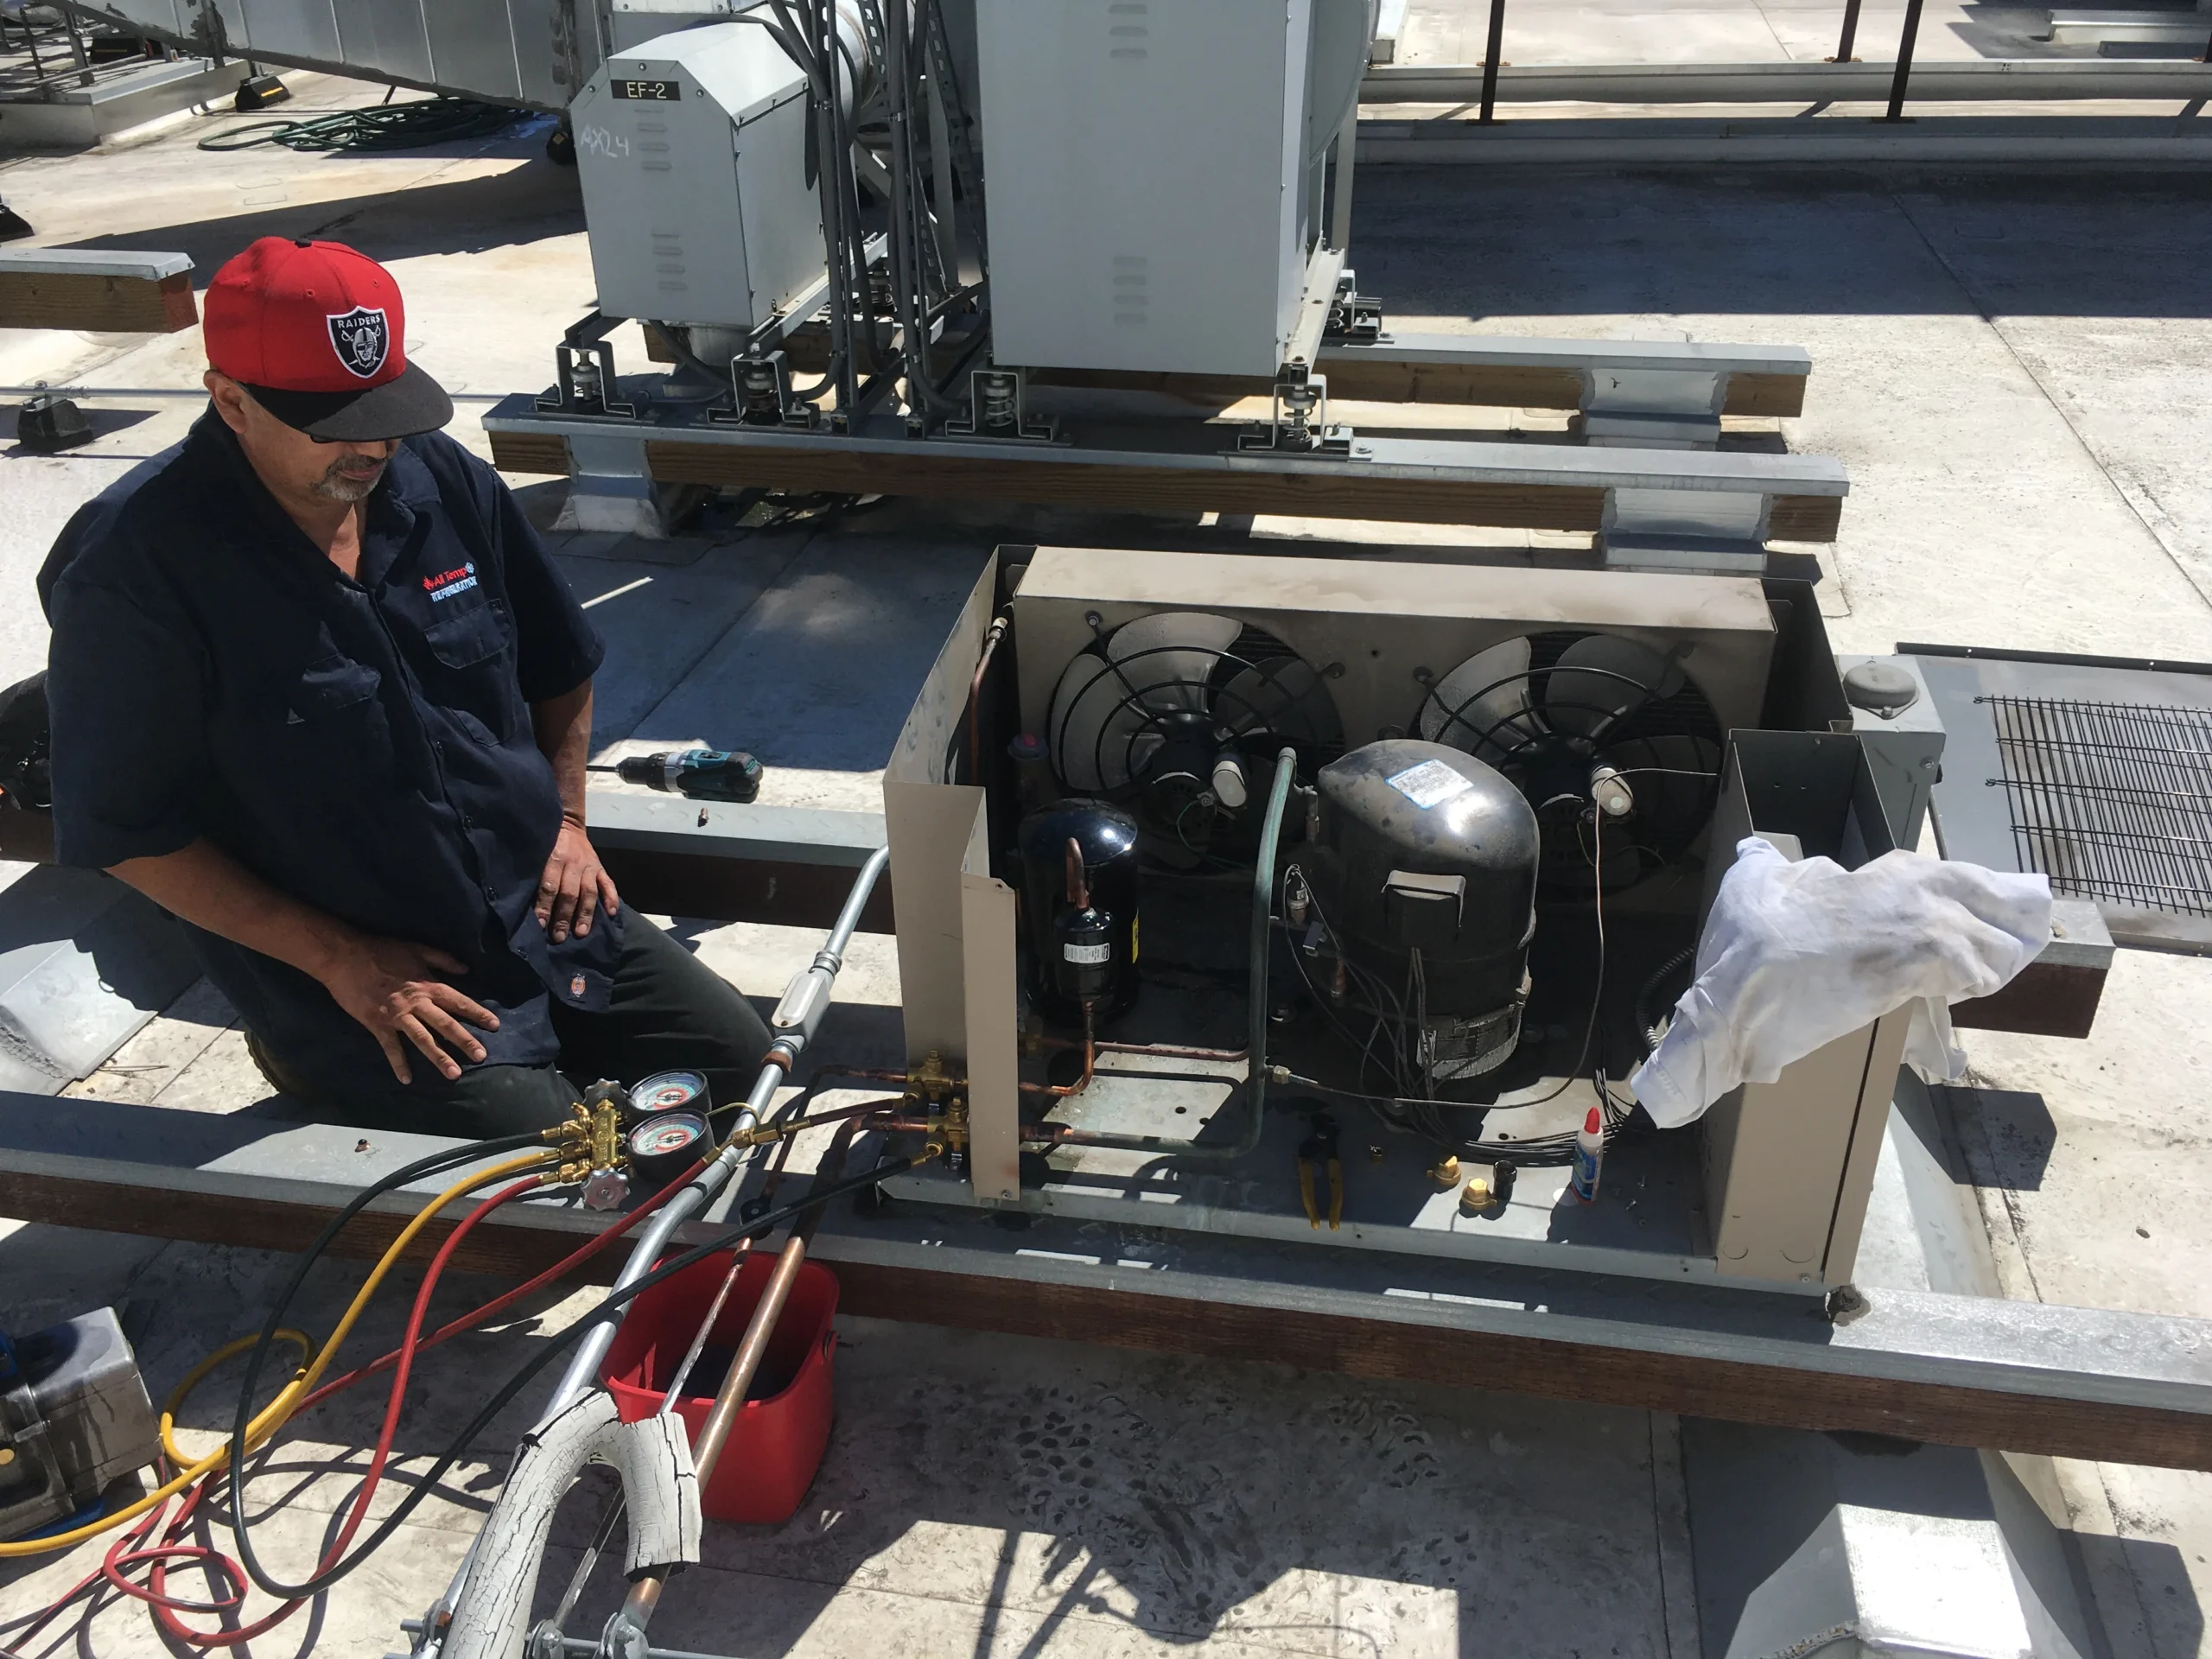
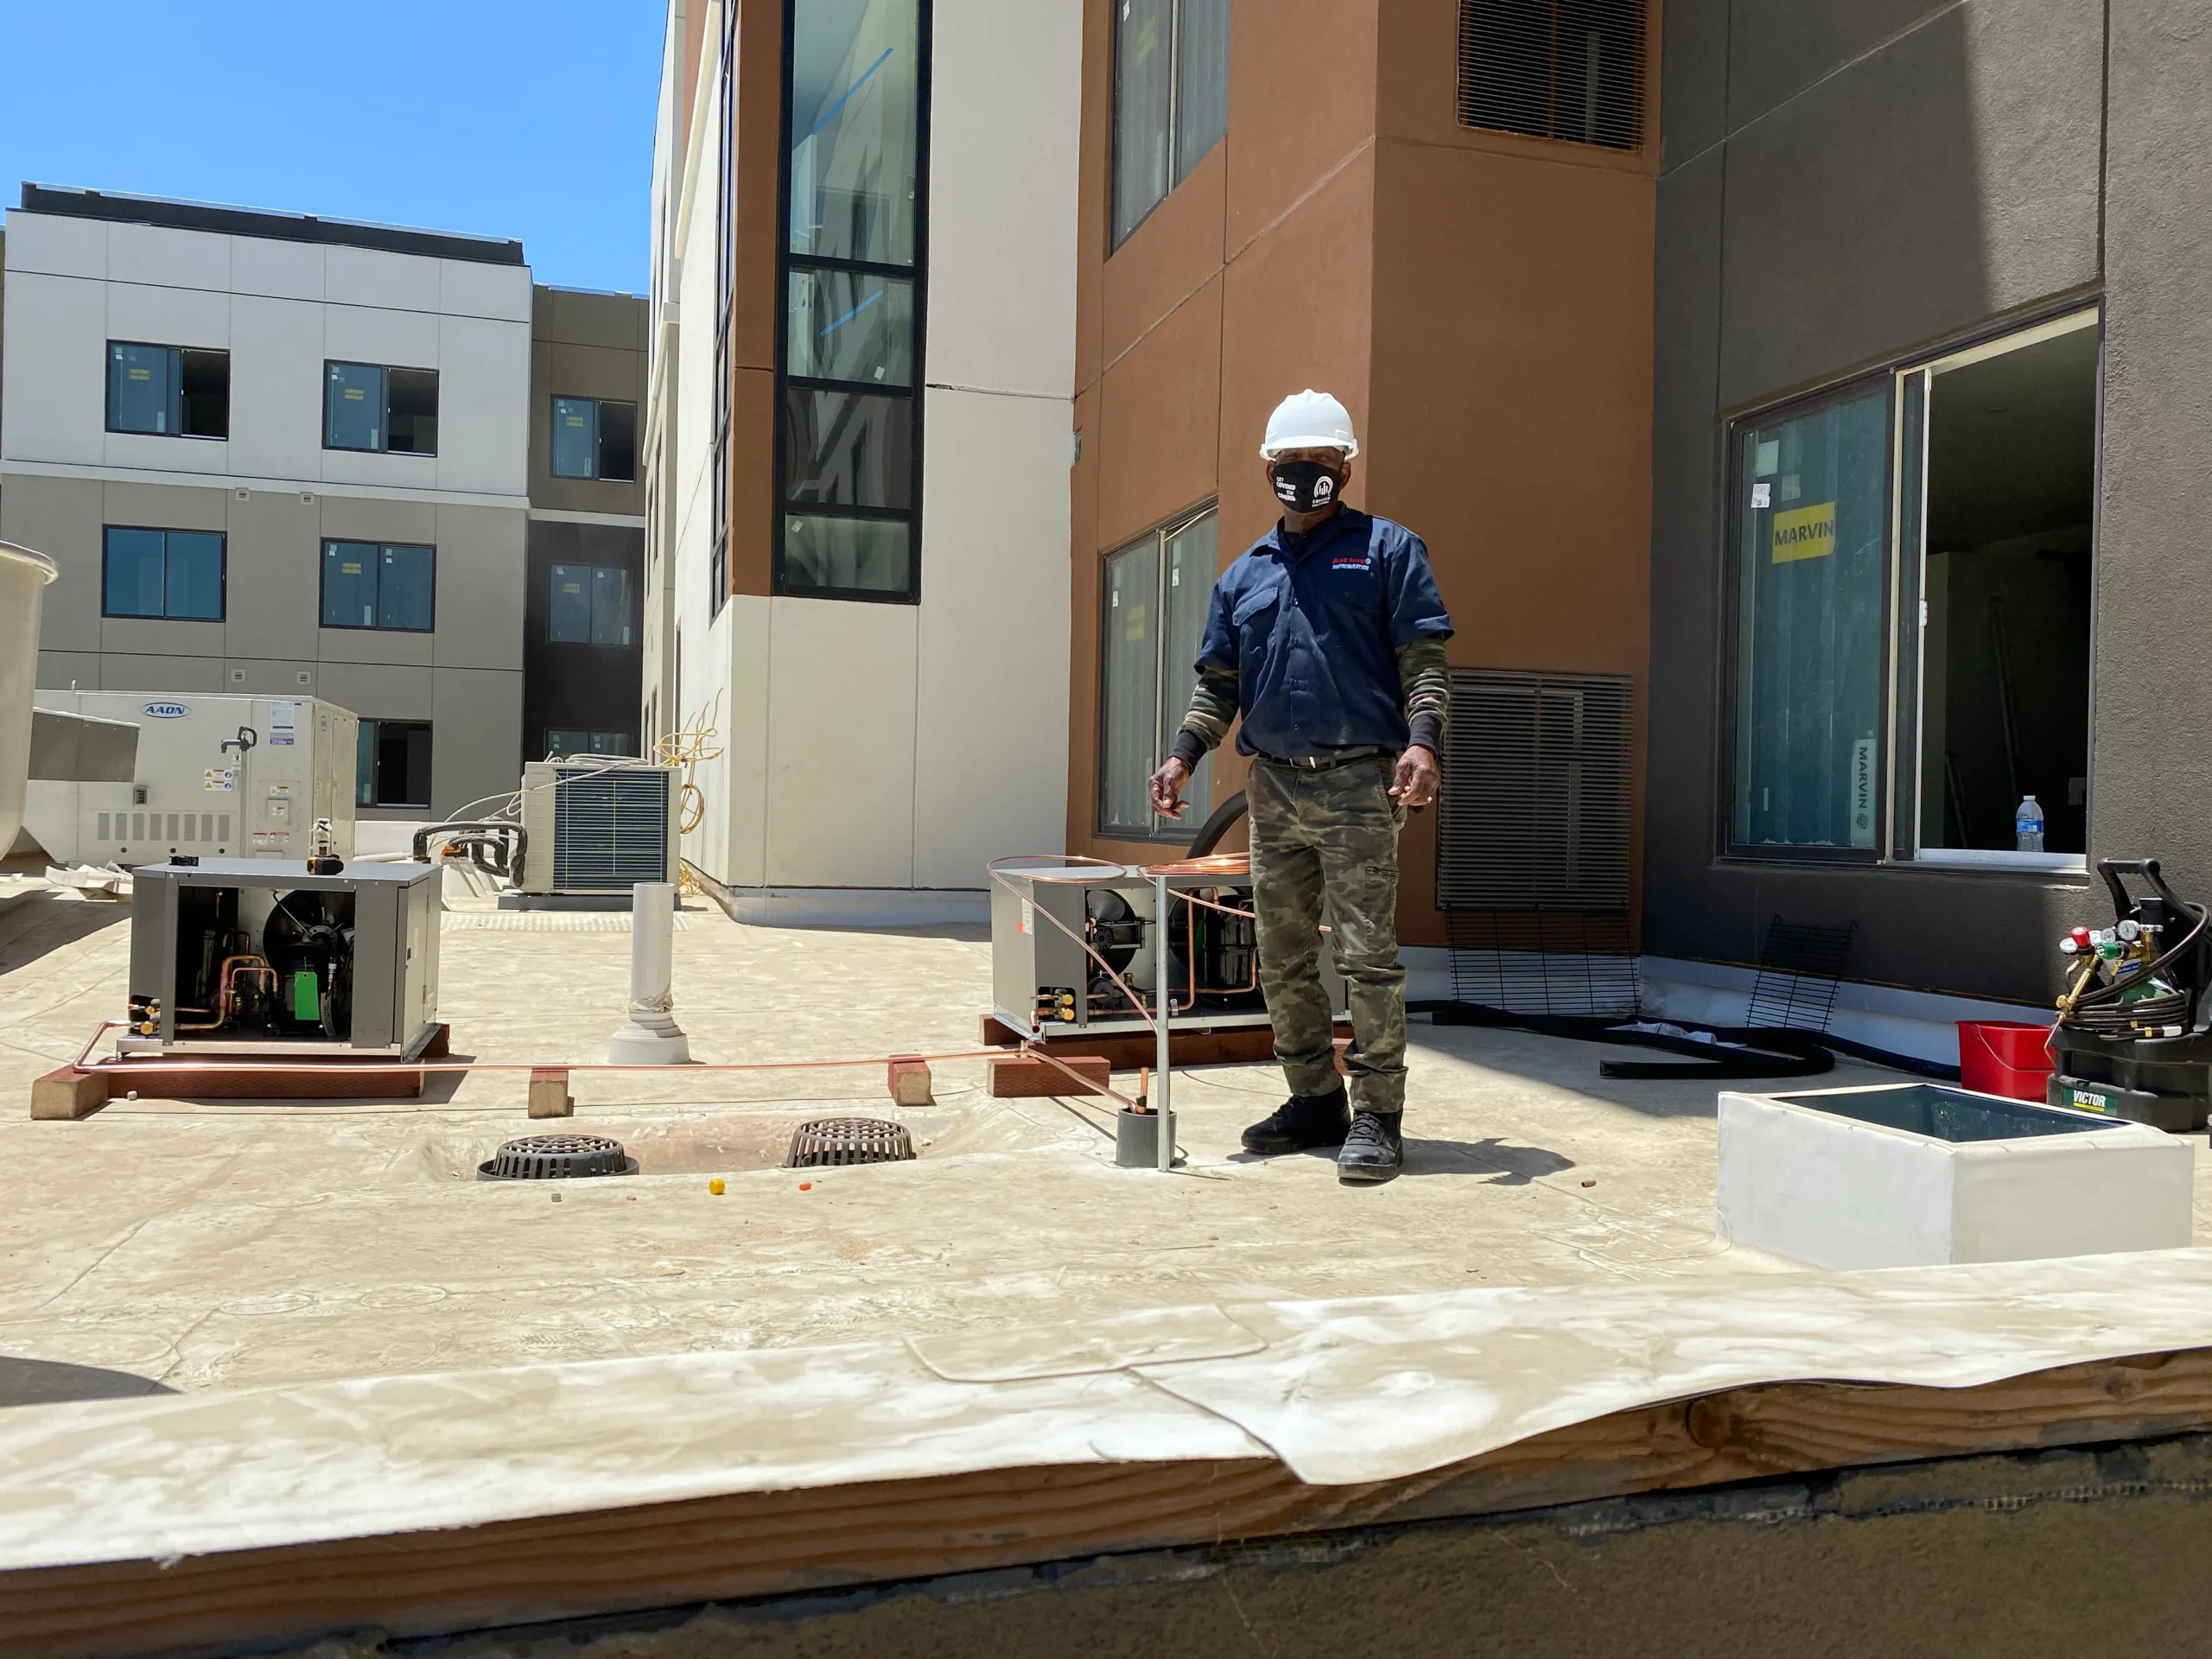
Professional Tasks: Schedule Your Fall Furnace Tune-Up
The remaining items on this fall furnace checklist require a licensed HVAC technician with combustion analysis equipment, gas leak detectors, and diagnostic tools. Schedule these before the first cold snap—typically by mid-October in the Bay Area.
Step 10: Professional Combustion and Safety Analysis
This is the most important professional test your furnace receives all year. A combustion analysis measures the gases your furnace produces to verify it’s burning cleanly and safely.
A certified technician will: – Test combustion gas levels using a digital combustion analyzer – Measure carbon monoxide levels in the flue and in the ambient air around the furnace – Check gas pressure at the manifold and compare to manufacturer specifications – Verify proper drafting—making sure exhaust gases flow up and out, not back into your home – Test the safety limit switch, flame sensor, and rollout switches – Check the gas valve operation and ignition sequence
This is not something you can DIY. Only a trained HVAC professional has the equipment and training to perform these tests accurately. If your furnace is over 15 years old, this test is especially critical. Learn about the 7 warning signs your furnace needs immediate repair.
Step 11: Full Furnace Tune-Up and Cleaning
A professional fall furnace tune-up goes far beyond what homeowners can do themselves. Think of it as a comprehensive physical exam for your heating system.
A technician will: – Clean the burner assembly and inspect flame pattern (should be steady, blue, with no yellow tips) – Clean or replace the flame sensor (a dirty sensor is the #1 cause of furnace no-heat calls) – Lubricate the blower motor bearings (if applicable—newer ECM motors are sealed) – Check and adjust the blower belt tension (on belt-driven systems) – Test the blower motor amp draw against manufacturer specs – Verify temperature rise across the heat exchanger (supply vs. return air temperature) – Inspect the inducer motor and condensate drain (on high-efficiency furnaces) – Test all safety controls and sequences of operation
Bay Area pricing: A fall furnace tune-up in the Bay Area typically costs $89–$150. Considering that a mid-winter furnace replacement can run $4,500–$12,000, the tune-up is one of the best investments you’ll make all year.
Step 12: Heat Exchanger Inspection
The heat exchanger is the critical barrier between the combustion gases inside your furnace and the air that circulates through your home. A cracked heat exchanger can leak carbon monoxide into your living space—making it one of the most serious furnace safety issues.
A technician will: – Visually inspect the heat exchanger cells for cracks, rust, or separation – Use a combustion analyzer to check for elevated CO levels that indicate a breach – On older furnaces, may use a camera inspection for areas not visible to the naked eye – Evaluate the overall condition and remaining service life
Key fact: Heat exchangers typically last 15–20 years but can deteriorate faster in furnaces that have been poorly maintained or oversized for the home. If your furnace is showing its age, this inspection gives you the information you need to plan ahead—rather than face an emergency replacement in January.
When to Complete Your Fall Furnace Checklist
The ideal window for Bay Area homeowners is September through mid-October. This gives you time to: – Handle the DIY items over a weekend – Schedule a professional tune-up before the fall rush – Order and install any replacement parts before temperatures drop – Address any major issues (like a cracked heat exchanger) while you still have time to research replacement options
Don’t wait for the first cold morning—HVAC companies in the Bay Area start booking up by late October, and emergency winter calls can come with premium pricing and longer wait times.
FAQ: Fall Furnace Checklist
How often should I service my furnace in the Bay Area?
Schedule a professional furnace tune-up once per year, ideally in September or October before you need heat. Homes with older furnaces (15+ years), pets, or household members with respiratory conditions should consider a mid-season filter check in December or January as well.
What does a professional furnace tune-up cost in the Bay Area?
A standard furnace tune-up ranges from $89–$150 in the Bay Area. Many HVAC companies offer seasonal maintenance plans that include both a fall furnace tune-up and a spring AC tune-up for $150–$300 annually, often with priority scheduling and discounts on repairs.
Is a burning smell from my furnace normal in the fall?
A mild dusty or burning smell is normal for the first 30–60 minutes of operation each fall—it’s dust on the heat exchanger and in the ductwork burning off. However, a persistent burning smell, a chemical odor, or the smell of rotten eggs (gas) is not normal. Shut the system down and call a professional immediately.
How do I know if my furnace heat exchanger is cracked?
Warning signs include: a yellow or flickering burner flame instead of steady blue, a persistent burning or chemical smell, soot buildup around the furnace, or CO detector alarms going off. However, small cracks often produce no visible symptoms—which is exactly why annual professional combustion analysis (Step 10) is so important.
Should I close vents in rooms I don’t use to save money?
No. Closing vents creates pressure imbalances in your duct system, which can cause air leaks at duct joints, put strain on the blower motor, and actually increase energy costs. If you want zone control, talk to your HVAC technician about a zoning system with dampers designed for the purpose.
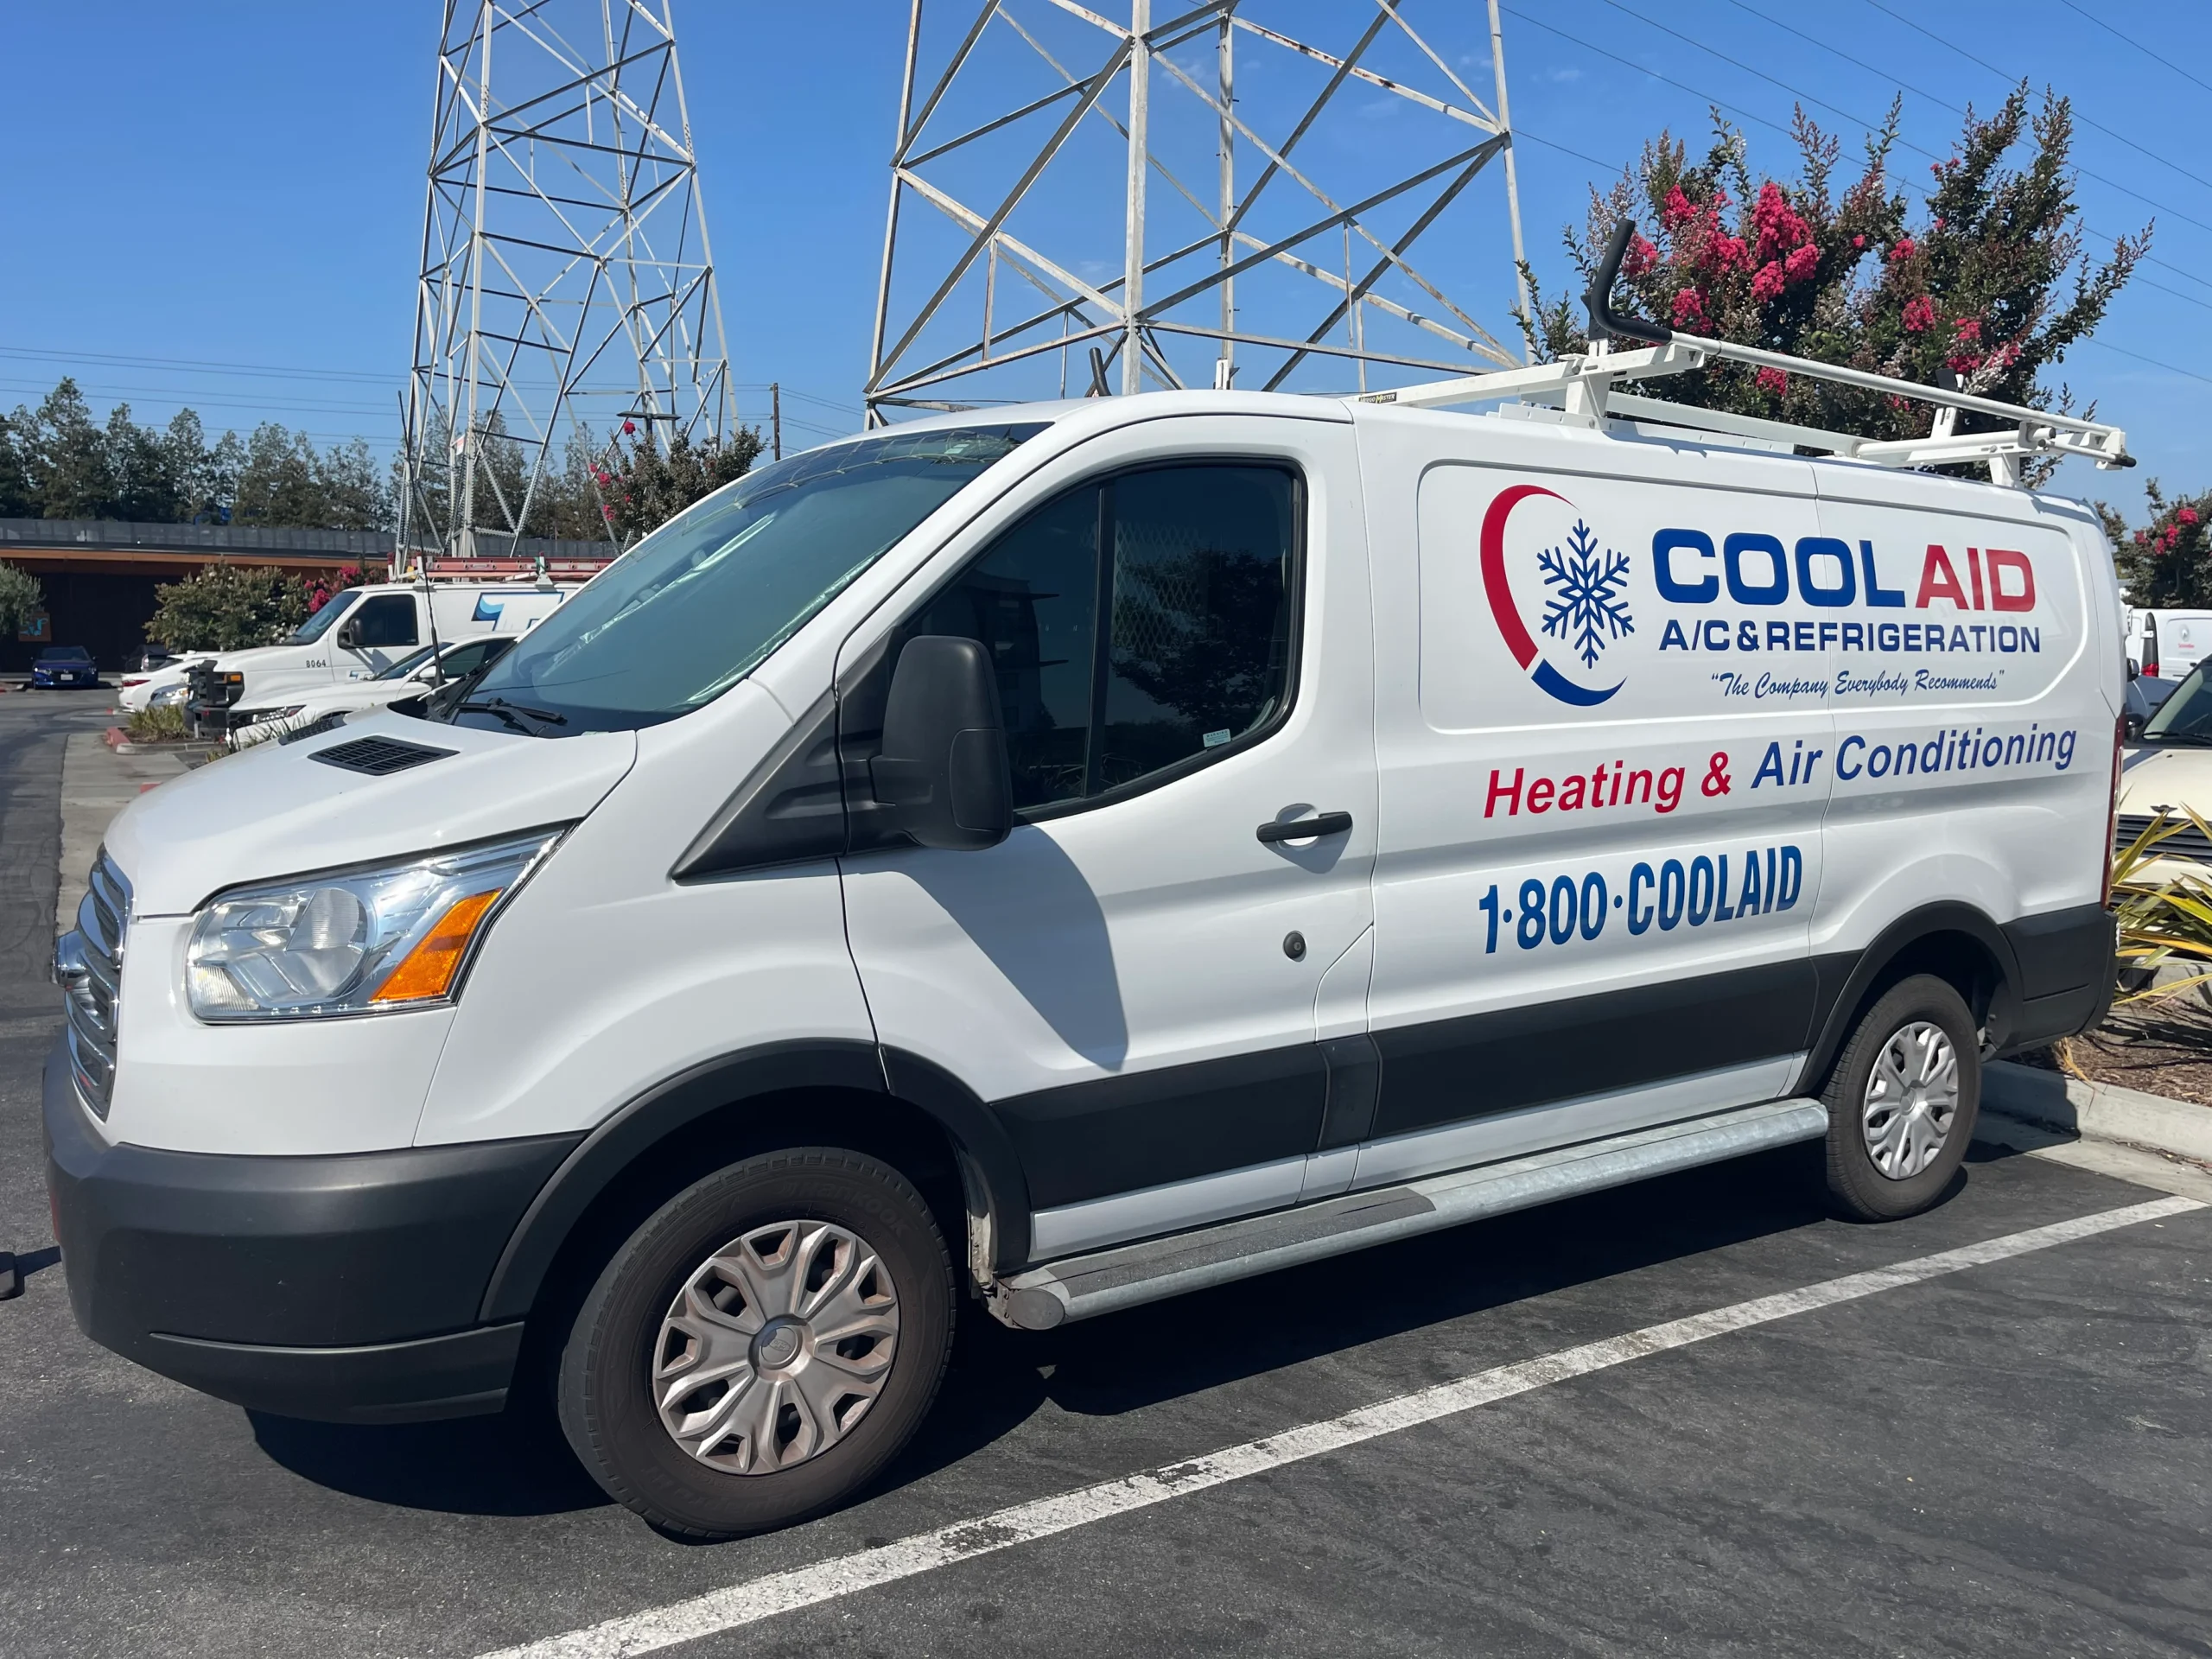
Get Your Furnace Winter-Ready with Cool Aid
Cool Aid Air Conditioning & Refrigeration has been helping Bay Area homeowners prepare for winter since 1966. Our C-20 licensed technicians perform comprehensive fall furnace maintenance that covers every item on this checklist—and we’ll give you an honest assessment of your system’s condition with no pressure to replace what doesn’t need replacing.
Schedule your fall furnace tune-up today or call us at 1-800-266-5243. Early fall is the best time to book—before the rush hits and before the first cold morning catches you off guard.
Stay Comfortable Year-Round With Expert HVAC Service
Book a trusted technician to handle your heating or cooling issue—fast, professional, and done right the first time.
Book Service Now