A commercial rooftop HVAC system is a complex machine with many critical components working in harmony to keep your building comfortable. While parts like the compressor and fans get a lot of attention, the unsung heroes of the entire operation are the coils. These vast networks of tubing and fins are where the fundamental process of heat exchange takes place. The cleanliness of these coils has a more direct and dramatic impact on your system’s performance and energy consumption than almost any other factor. Understanding the coil cleaning benefits is essential for any business owner or facility manager looking for practical HVAC efficiency tips.
Over time, the coils on a rooftop unit, which are constantly exposed to the elements, become caked with a thick layer of dirt, pollen, grease, and other airborne debris. This buildup acts as an insulating barrier, forcing your entire HVAC system to work harder, run longer, and consume significantly more energy. This article will dive deep into the role of HVAC coils, illustrate how dirty coils cripple your system’s efficiency, and outline the substantial benefits of incorporating professional coil cleaning into your rooftop HVAC maintenance schedule.
The Heart of Heat Exchange: Understanding Evaporator and Condenser Coils
To appreciate the importance of clean coils, you first need to understand what they do. An HVAC system doesn’t create cold air; it moves heat from one place to another. This magic happens in two primary locations: the evaporator coil and the condenser coil.
The Evaporator Coil: Absorbing Heat from Inside
Located in the indoor unit of your HVAC system (the air handler), the evaporator coil’s job is to absorb heat from your building’s air.
- Cold Refrigerant Flows In: Cold, low-pressure liquid refrigerant is pumped into the evaporator coil.
- Air Blows Across: The blower fan pulls warm air from your building’s return ducts and blows it across the coil’s cold, finned surface.
- Heat Transfer Occurs: The heat in the air is absorbed by the much colder refrigerant. As the refrigerant absorbs this heat, it “boils” and transforms from a liquid into a gas.
- Cool Air is Distributed: The air, now stripped of its heat and significantly cooler, is pushed through the ductwork and into your commercial space.
The evaporator coil is also responsible for dehumidification. As the warm, moist air passes over the cold coil, the water vapor in the air condenses into liquid water (just like on the outside of a cold glass), which is collected in a drain pan and removed from the system.
The Condenser Coil: Releasing Heat Outside
Located in the outdoor unit on your rooftop, the condenser coil has the opposite job: to release the collected heat into the outside air.
- Hot Refrigerant Flows In: The hot, high-pressure gaseous refrigerant, now carrying all the heat it absorbed from your building, is pumped from the compressor into the condenser coil.
- Fan Pulls Air Across: A large fan on top of the rooftop unit pulls ambient outdoor air through the sides of the unit and across the condenser coil’s fins.
- Heat is Released: The heat radiates from the hot refrigerant inside the coil into the cooler outside air being blown across it.
- Refrigerant Cools Down: As the refrigerant releases its heat, it condenses back into a high-pressure liquid state, ready to be sent back to the evaporator coil to repeat the cycle.
For this entire process to work efficiently, there must be maximum thermal contact between the air (both inside and outside) and the surface of the coils. Anything that gets in the way of that contact will disrupt the entire system.
The Efficiency Killer: What Happens When Coils Get Dirty
The fins on both evaporator and condenser coils are tightly packed together to create an enormous surface area for heat exchange. Unfortunately, this design also makes them incredibly effective at trapping airborne particulates.
The Insulating Blanket Effect
Dirt, dust, pollen, grease, cottonwood, and pollution act as an insulator. When a layer of this grime builds up on the coils, it forms a barrier that severely hinders heat transfer.
- On the Evaporator Coil: A dirty evaporator coil cannot effectively absorb heat from the indoor air. The refrigerant doesn’t get warm enough to properly vaporize, and the air passing over it doesn’t get cold enough. The result is poor cooling performance and inadequate dehumidification, leaving the air feeling damp and clammy even if the system runs constantly.
- On the Condenser Coil: A dirty condenser coil cannot efficiently release heat into the outside air. The hot refrigerant stays hot, and its pressure rises to dangerous levels. The compressor must work much harder and longer to try and force the heat out, leading to a dramatic spike in energy consumption.
This insulating effect is the single biggest cause of efficiency loss in an HVAC system. A coil that is even moderately dirty can force the system to use 15-30% more electricity to achieve the same amount of cooling.
Airflow Restriction
The problem is twofold. The grime doesn’t just insulate the coils; it also physically clogs the spaces between the delicate fins. This severely restricts the volume of air that can pass through the coils.
- Reduced Airflow on the Evaporator: When the indoor blower can’t push enough air across the evaporator coil, the coil can get so cold that the condensation on it freezes solid. This “frozen coil” completely blocks all airflow, and your system will stop cooling entirely. It also puts immense strain on the blower motor.
- Reduced Airflow on the Condenser: When the outdoor fan can’t pull enough air through the clogged condenser coil, the trapped heat and pressure build up rapidly. This will often cause the system to shut down on a high-pressure safety switch, especially on the hottest days when you need it most.
The Domino Effect of Dirty Coils
The problems caused by dirty coils create a cascading effect of stress on every other part of your HVAC system.
- Compressor Strain: The compressor has to work much harder to pump refrigerant against the high pressures caused by a dirty condenser coil. This leads to overheating, accelerated wear, and is a leading cause of premature compressor failure—the most expensive repair in any HVAC system.
- Motor Overheating: Both the indoor blower motor and the outdoor fan motor have to strain against the restricted airflow, causing them to draw more power, overheat, and fail sooner.
- Increased Wear on All Components: Longer run times mean every part of the system—from capacitors and contactors to belts and bearings—is operating for more hours per day, leading to a shorter overall lifespan for the entire unit.
A simple layer of dirt can turn a high-efficiency machine into an energy-guzzling liability on the verge of a major breakdown. If you notice a decline in performance, it might be time to call for Commercial HVAC Repair Services to diagnose the issue.
The Top 5 Benefits of Professional Coil Cleaning
Given the severe consequences of dirty coils, the benefits of regular, professional cleaning become incredibly clear. This simple maintenance task delivers a powerful return on investment.
1. Restored Energy Efficiency and Lower Utility Bills
This is the most significant of all coil cleaning benefits. By removing the insulating layer of grime, you restore the coil’s ability to transfer heat effectively. The system no longer has to struggle, and its energy consumption drops dramatically.
- Example: A commercial building with a $5,000 monthly summer electricity bill, where the HVAC accounts for 40% ($2,000), could see a 20% improvement in HVAC efficiency after a deep coil cleaning. That translates to $400 in savings every month. Over a five-month cooling season, that’s $2,000 in savings, which often more than pays for the entire professional maintenance visit.
2. Improved Cooling Capacity and Comfort
A clean system works better. Period. When the coils are clean, the system can absorb and release heat at its designed capacity.
- Faster Cooling: The air coming from your vents will be colder, allowing the system to reach the thermostat’s set point more quickly.
- Better Dehumidification: A clean evaporator coil will do a much better job of removing moisture from the air, eliminating that sticky, humid feeling and improving overall occupant comfort.
- Consistent Performance: Your system will be able to keep up even on the hottest days of the year, preventing uncomfortable temperature swings and employee or customer complaints.
3. Extended Equipment Lifespan
By reducing the strain on the system’s most critical and expensive components, regular coil cleaning is one of the most effective strategies for extending the life of your HVAC unit.
- Protecting the Compressor: Reducing the compressor’s workload and preventing it from overheating can add years to its operational life, helping you avoid a five-figure replacement cost.
- Reducing Overall Wear: Shorter run times mean less wear on every single moving part in the system. This delays the need for a full Commercial HVAC Replacement and maximizes the return on your initial investment. A well-maintained unit can last 15-20 years, while a neglected unit might fail in under 10.
4. Fewer Unexpected Breakdowns
Many “sudden” HVAC failures aren’t sudden at all. They are the final result of months or years of accumulated stress from problems like dirty coils.
- Preventing Overheating: Cleaning the condenser coil prevents the high-pressure conditions that cause systems to shut down on hot days.
- Avoiding Frozen Coils: Cleaning the evaporator coil ensures proper airflow, preventing the ice buildup that can stop your system cold.
- Proactive Diagnosis: During a professional coil cleaning service, the technician is also inspecting the entire unit. They can spot other developing problems, like a failing capacitor or a worn fan belt, and fix them before they cause a breakdown. This proactive approach turns a potential emergency into a routine repair. Knowing who to call for Emergency HVAC Services in San Jose, CA is crucial, but preventing the emergency in the first place is far more cost-effective.
5. Better Indoor Air Quality
The evaporator coil is on the “breathing” side of your HVAC system. All the air circulated in your building passes over it. A dirty, wet coil can become a breeding ground for biological contaminants.
- Reducing Mold and Bacteria: The accumulated organic dust and debris on a coil provide a food source for mold and bacteria, which thrive in the dark, damp conditions. When the fan kicks on, these spores are blown into your workspace, contributing to allergies, respiratory issues, and musty odors. A thorough cleaning removes the food source and helps ensure healthier air.
The Professional Cleaning Process: Why DIY Isn’t Enough
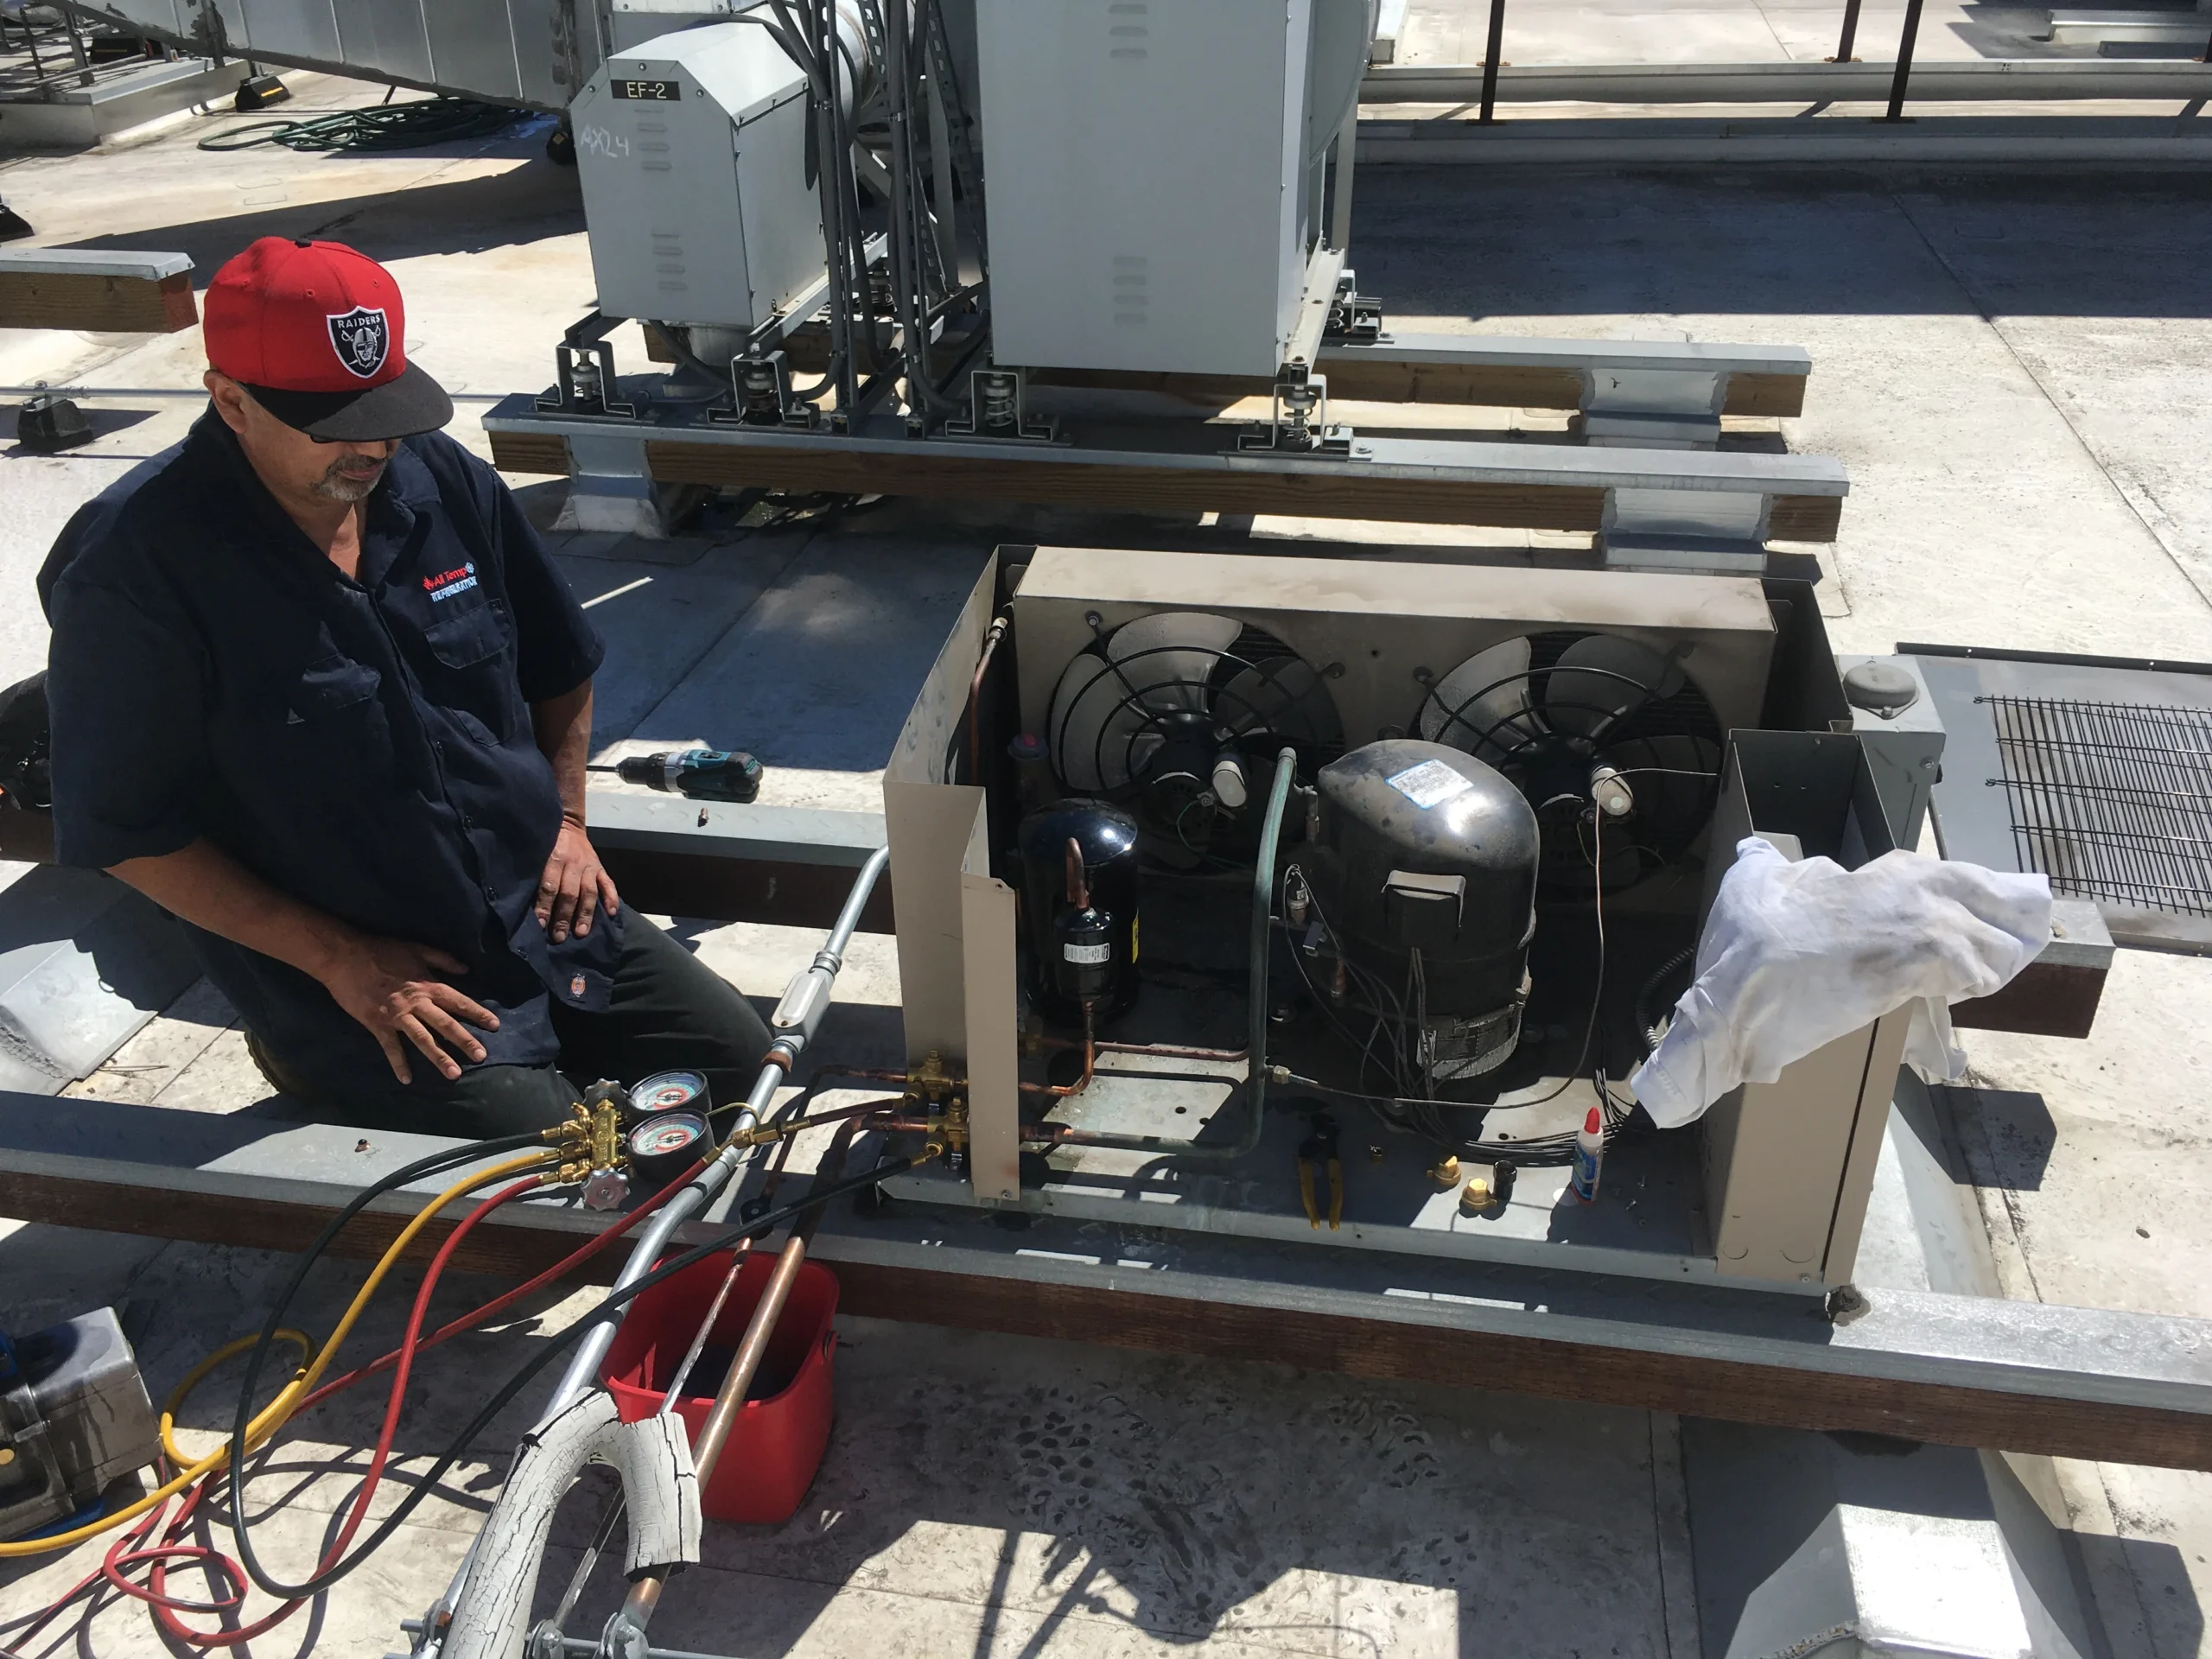
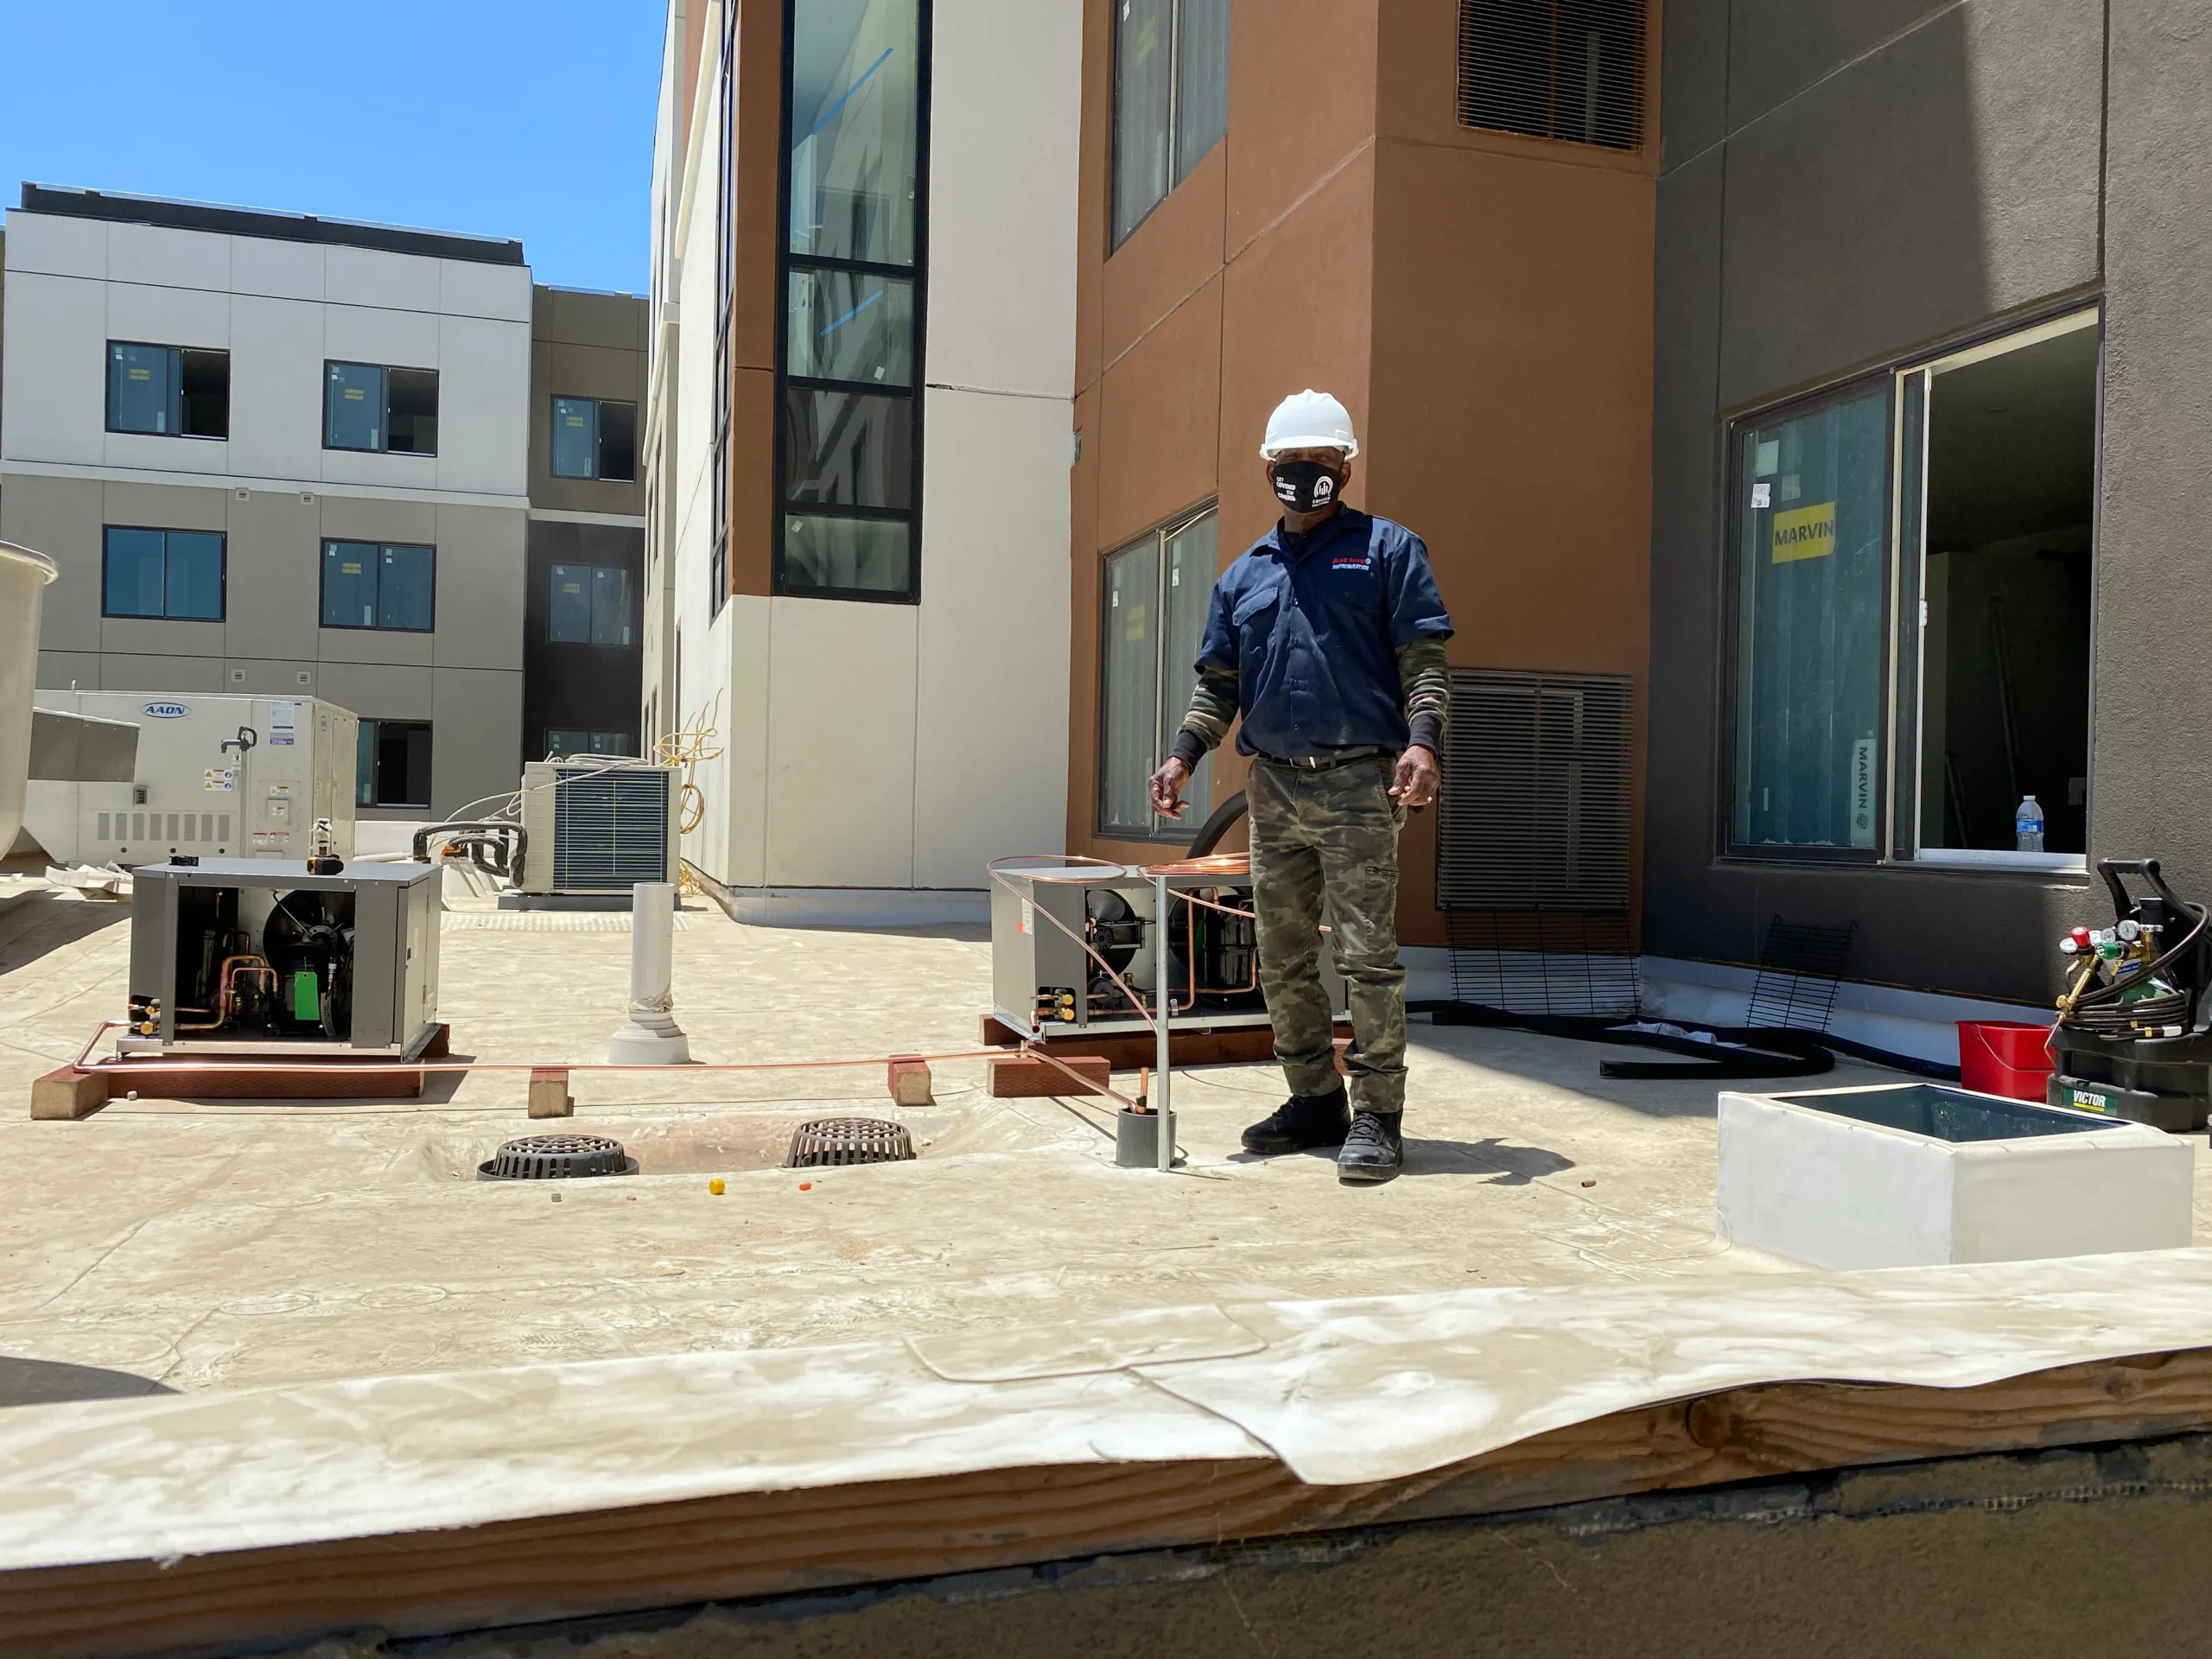
While changing an air filter is a simple task, cleaning rooftop HVAC coils is a job best left to the professionals. It requires specialized equipment, chemicals, and knowledge to do it safely and effectively.
What a Professional Service Involves:
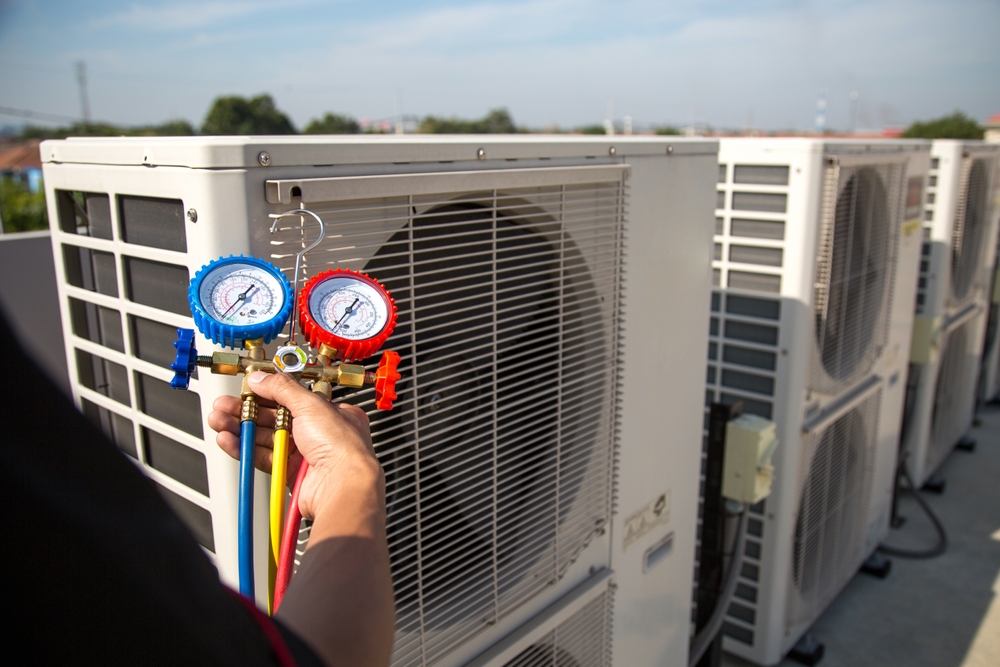
- Safety First: The technician will first perform a full electrical lockout/tagout to ensure there is no power to the unit, preventing any risk of electric shock or the fans starting unexpectedly.
- Specialized Cleaners: Professionals use non-acidic, foaming coil cleaners that are specifically designed to penetrate deep into the coil fins. These chemicals break down grease, oil, and grime without damaging the delicate aluminum fins or copper tubing.
- Proper Rinsing Technique: The coils must be rinsed thoroughly from the inside out to push all the dislodged dirt away from the coil. Using a pressure washer with too much force can easily bend the fins flat, which permanently damages the coil and restricts airflow just as much as dirt. Technicians use specific low-pressure sprayers to do this correctly.
- Comprehensive Service: Coil cleaning is just one part of a complete Commercial HVAC Maintenance visit. The technician will also clean the drain pans, clear the drain lines, check electrical components, and perform a full system check-up.
Protect Your Coils, Protect Your Investment
Your rooftop HVAC system’s coils are the gateway to its efficiency and longevity. Keeping them clean is not just a minor housekeeping task; it is a fundamental requirement for the reliable and cost-effective operation of your equipment. The benefits are undeniable: lower energy bills, better performance, a longer lifespan, and fewer surprise breakdowns.
Don’t let a simple layer of dirt rob your business of comfort and cash. Make professional coil cleaning a non-negotiable part of your annual maintenance strategy. Contact our team of experienced HVAC professionals today to schedule a service and unlock the full potential and efficiency of your rooftop unit.
Stay Comfortable Year-Round With Expert HVAC Service
Book a trusted technician to handle your heating or cooling issue—fast, professional, and done right the first time.
Book Service Now