
The Ultimate Rooftop HVAC Master Guide for the Bay Area
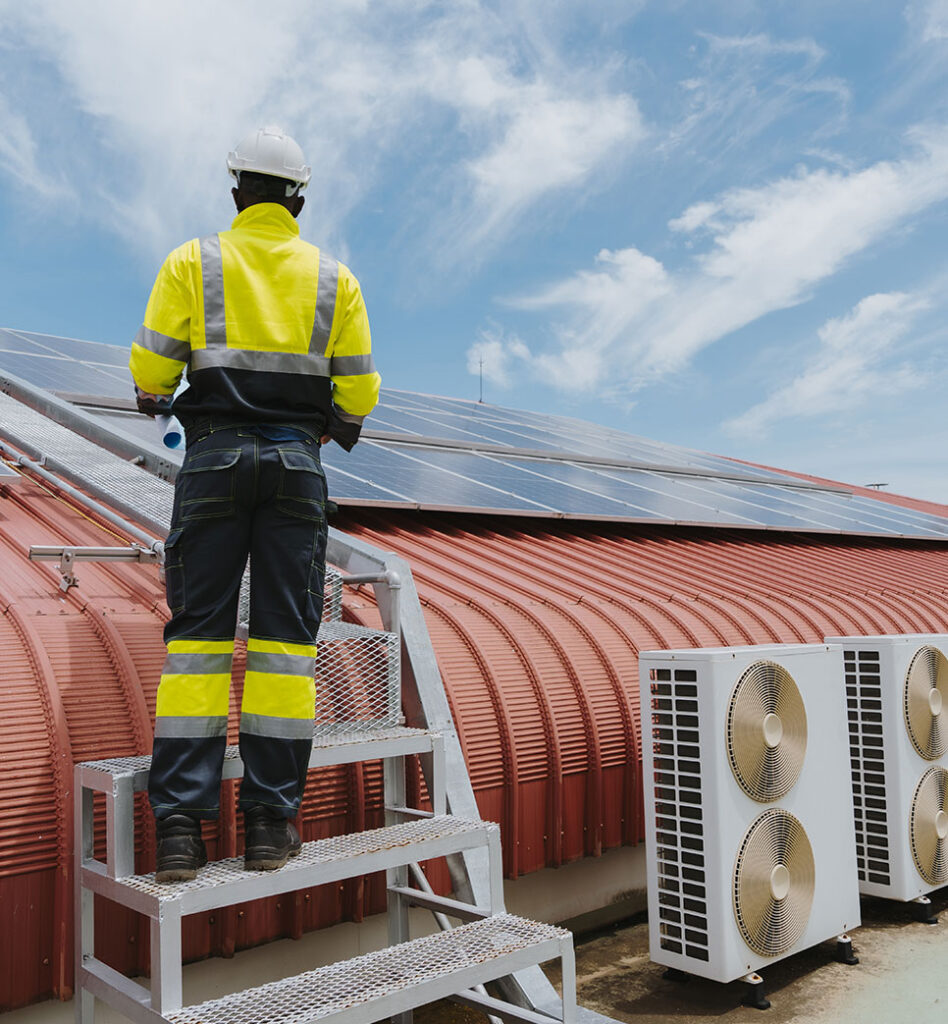
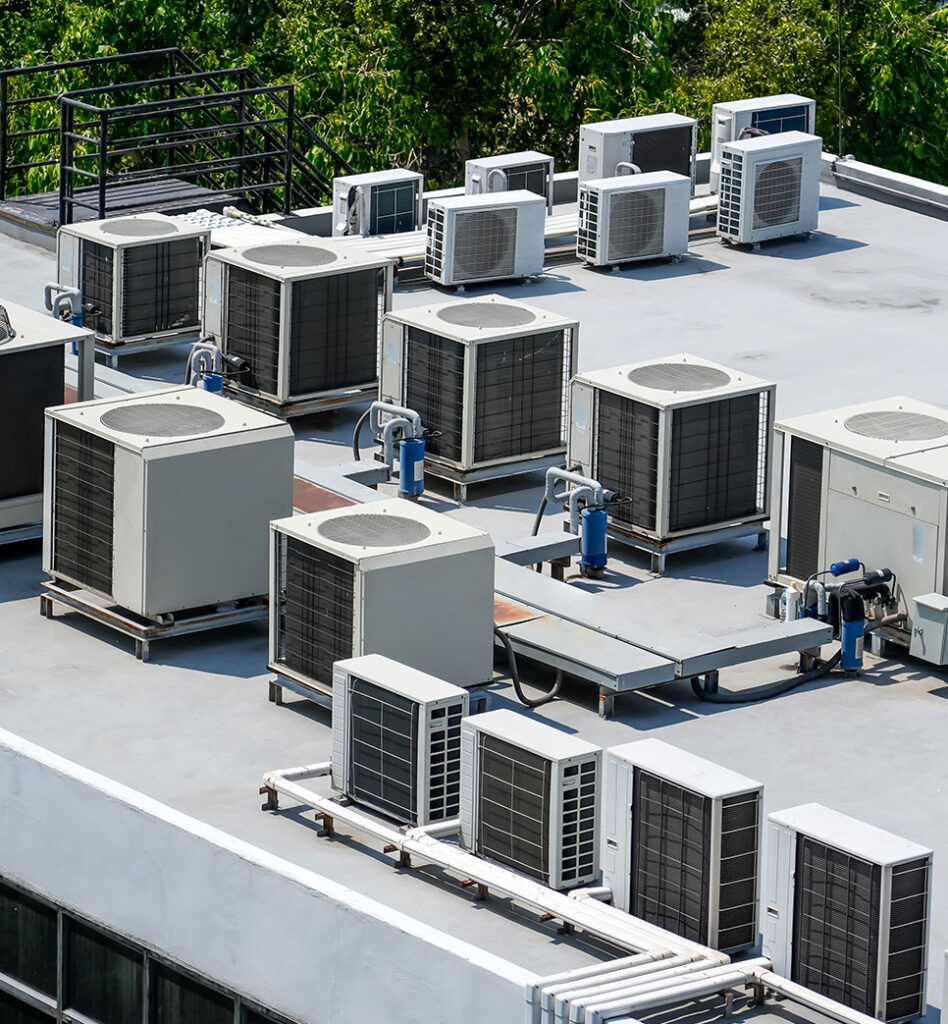
Rooftop HVAC units (RTUs) are the backbone of commercial climate control across the San Francisco Bay Area. From retail centers and office buildings to restaurants, warehouses, and mixed-use properties, rooftop systems deliver scalable heating and cooling while maximizing usable interior space.
This page is the definitive Rooftop HVAC authority hub for the Bay Area. It consolidates everything property managers, business owners, and facility teams need to understand rooftop HVAC systems — how they work, how to maintain them, when to repair vs replace, how climate impacts performance, and how to make cost-effective long-term decisions. Every section connects to deeper, specialized resources already on our site.
What Is a Rooftop HVAC Unit (RTU)?
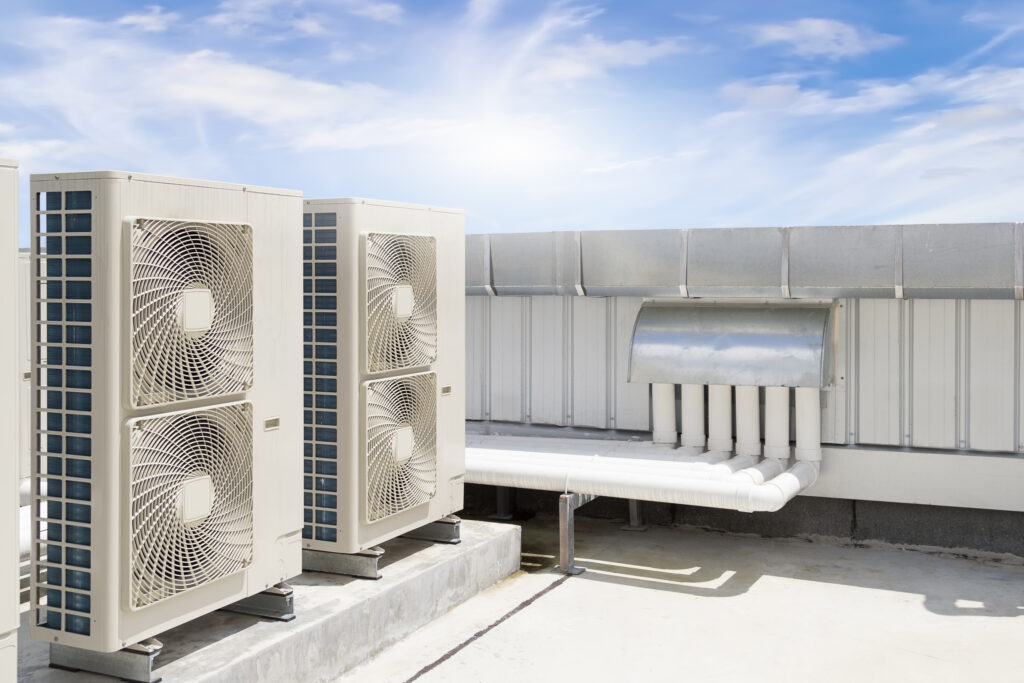
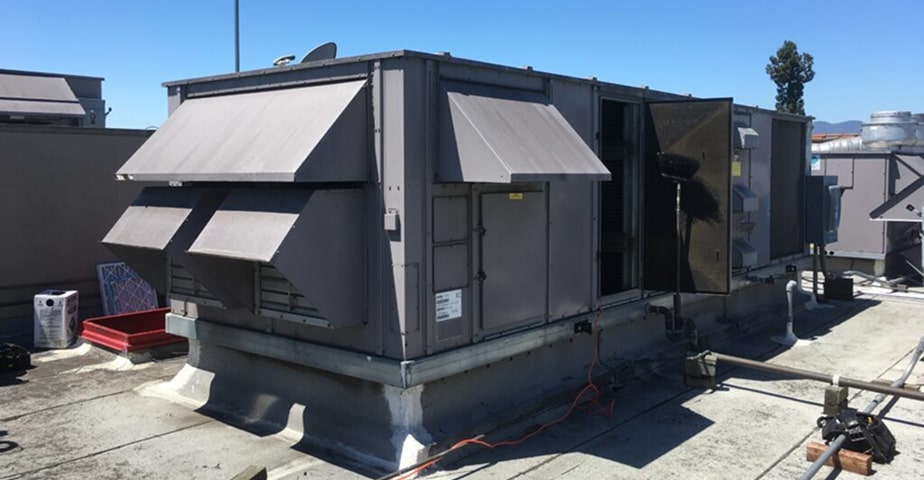
A rooftop HVAC unit is a packaged commercial system installed on the roof of a building that provides heating, cooling, and ventilation from a single self-contained unit. RTUs are engineered for durability, accessibility, and zoning flexibility in commercial environments.
If you’re new to RTUs, start here:
Call Now for Emergency HVAC Repair
Why Rooftop HVAC Is So Common in the Bay Area
Rooftop HVAC systems are especially well-suited to Bay Area commercial buildings because they:
- Free up valuable interior space
- Support multi-zone configurations
- Simplify duct runs
- Perform well across mild-to-hot climates
- Reduce indoor noise
Learn why RTUs are ideal for many commercial properties:
Rooftop HVAC vs Other Commercial Systems
Rooftop Units vs Ground-Level Systems
Ground-level systems are sometimes used, but rooftop placement offers unique advantages in dense urban environments. Compare the two:
Rooftop HVAC vs Split Systems
Split systems separate indoor and outdoor components, while RTUs package everything together. See the differences:
Packaged Rooftop Units
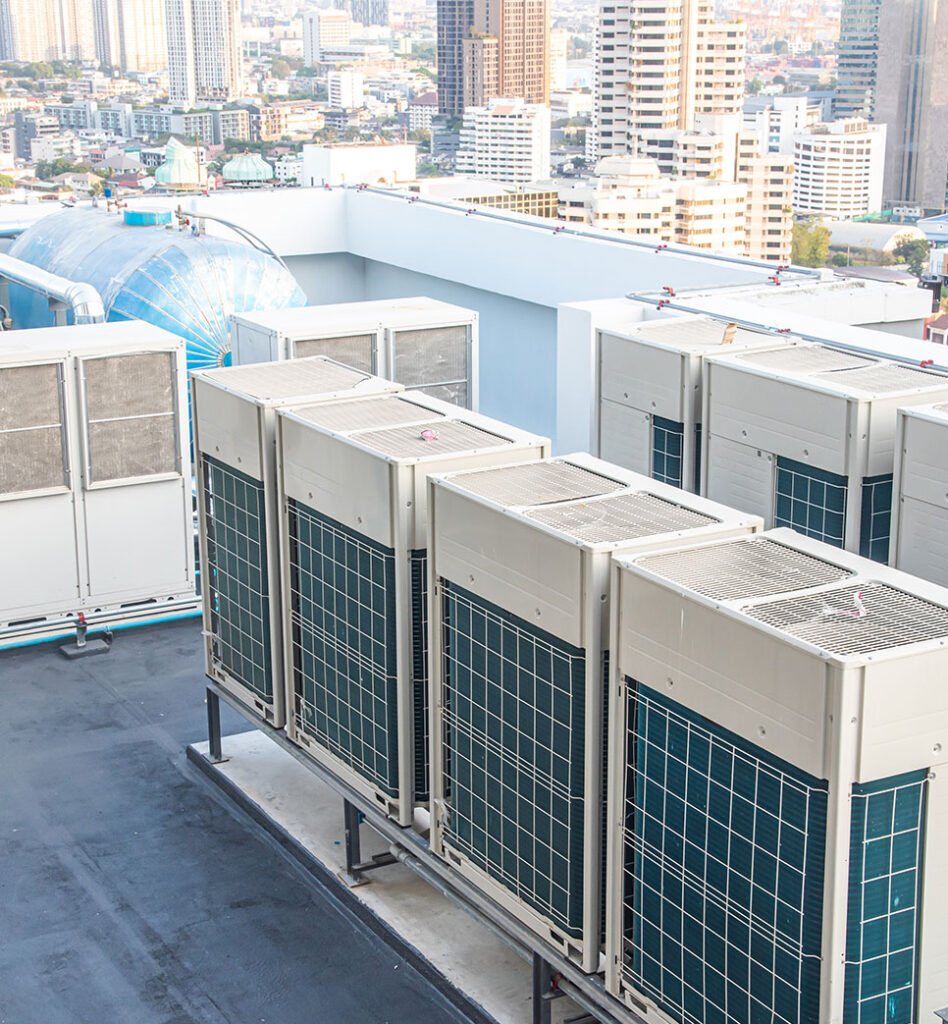
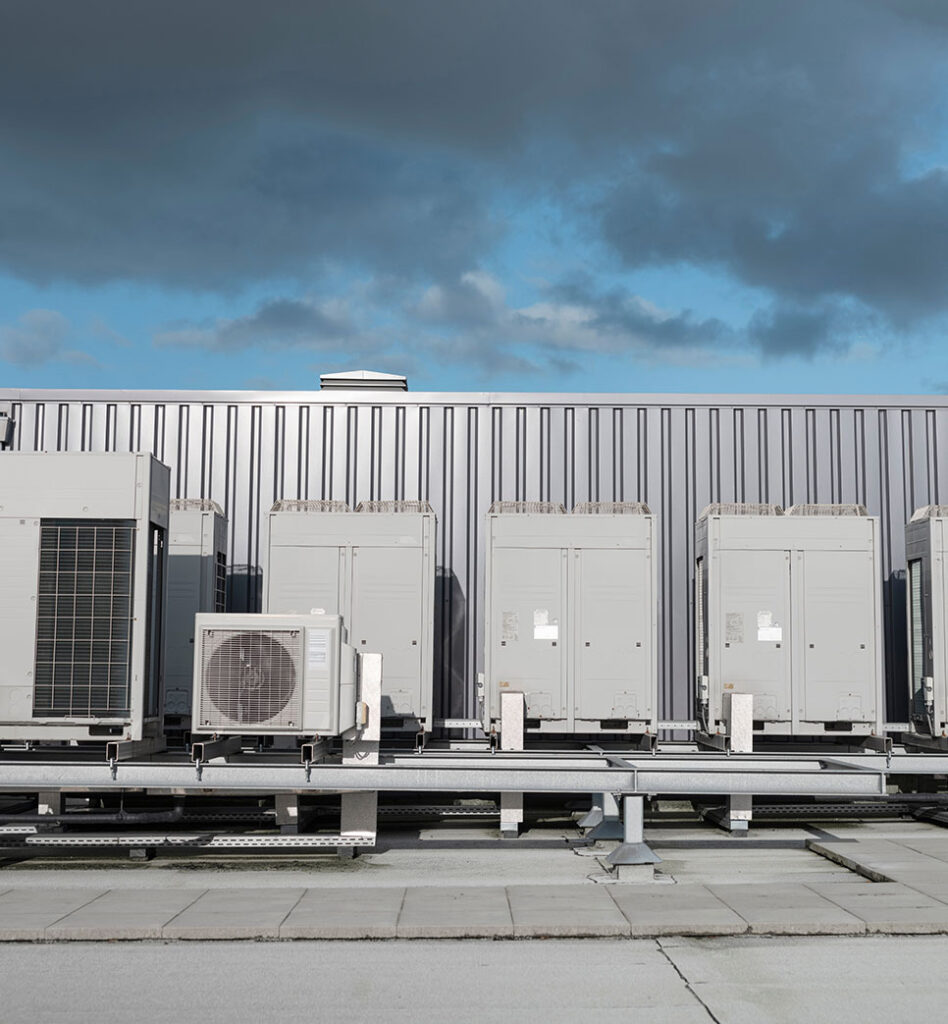
Rooftop HVAC Units (RTUs)
Packaged RTUs house all components — compressor, condenser, evaporator, and heating elements — in one cabinet.
Learn more:
Single-Zone vs Multi-Zone RTUs
Central AC remains common in Bay Area homes with existing ductwork. However, incorrect sizing is one of the most frequent problems we see.
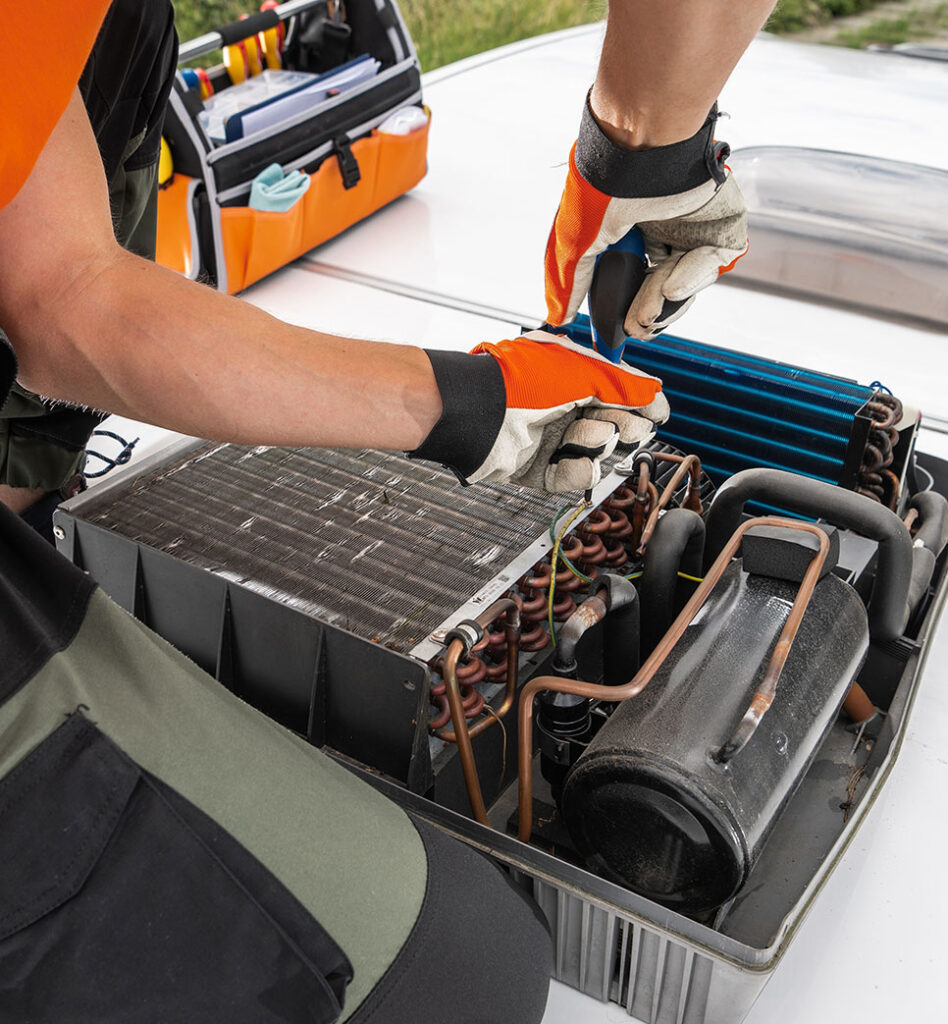
Rooftop HVAC Components Explained
Key RTU components include:
- Compressors
- Condenser coils
- Evaporator coils
- Blowers and fans
- Gas or electric heating elements
- Controls and sensors
Detailed breakdown:
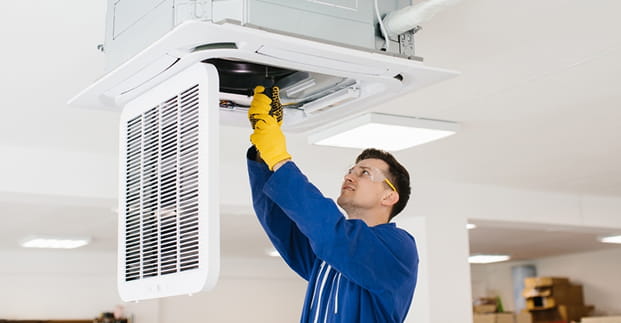
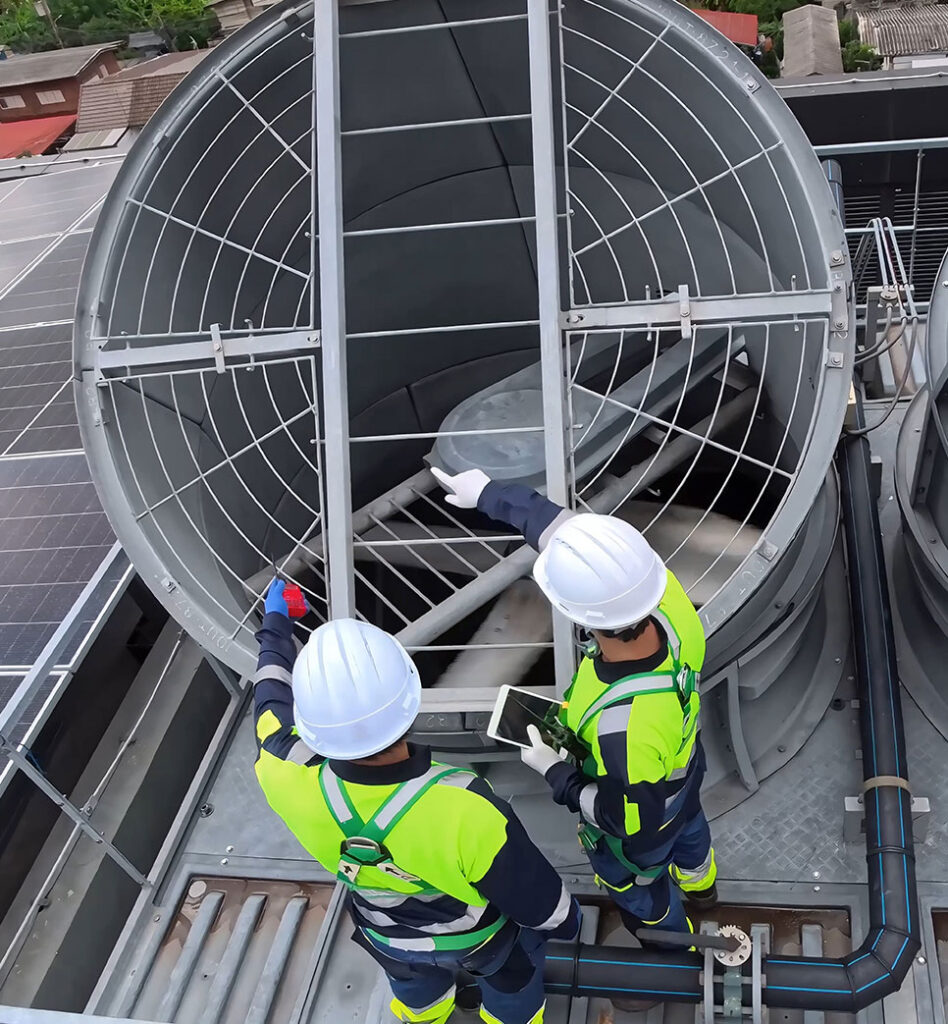
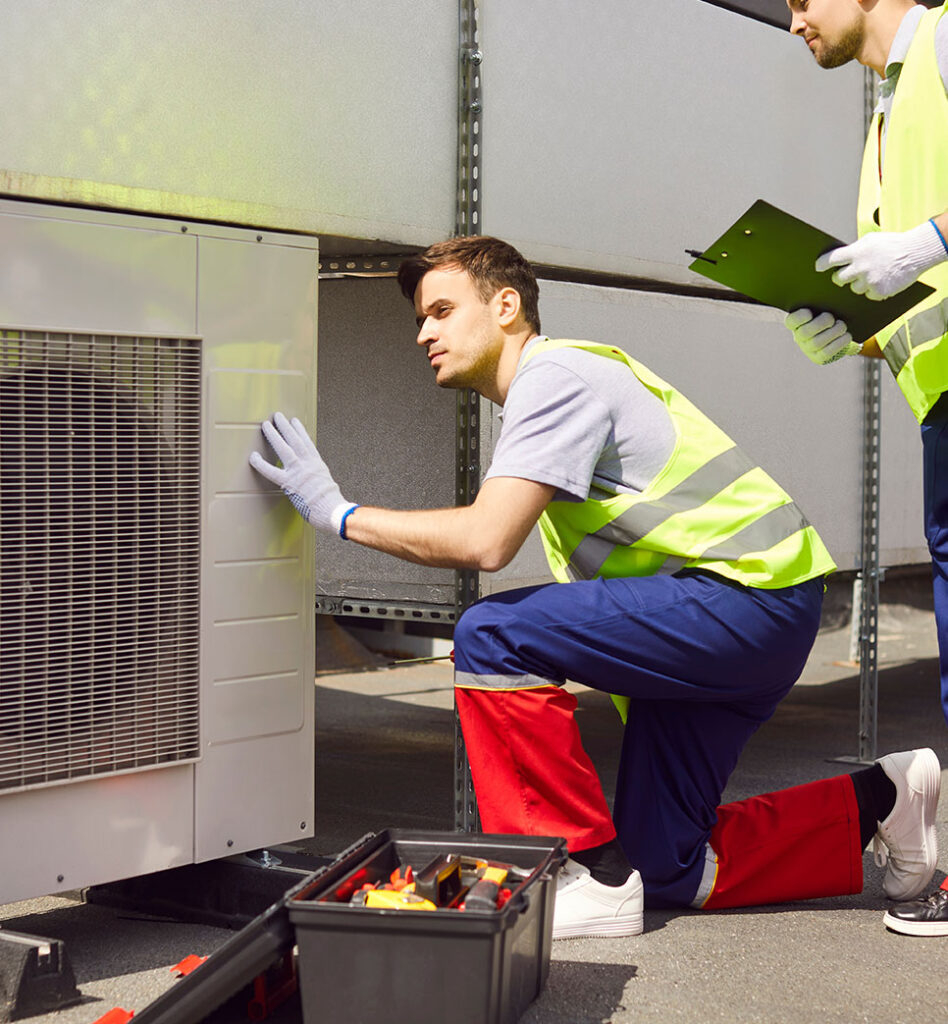
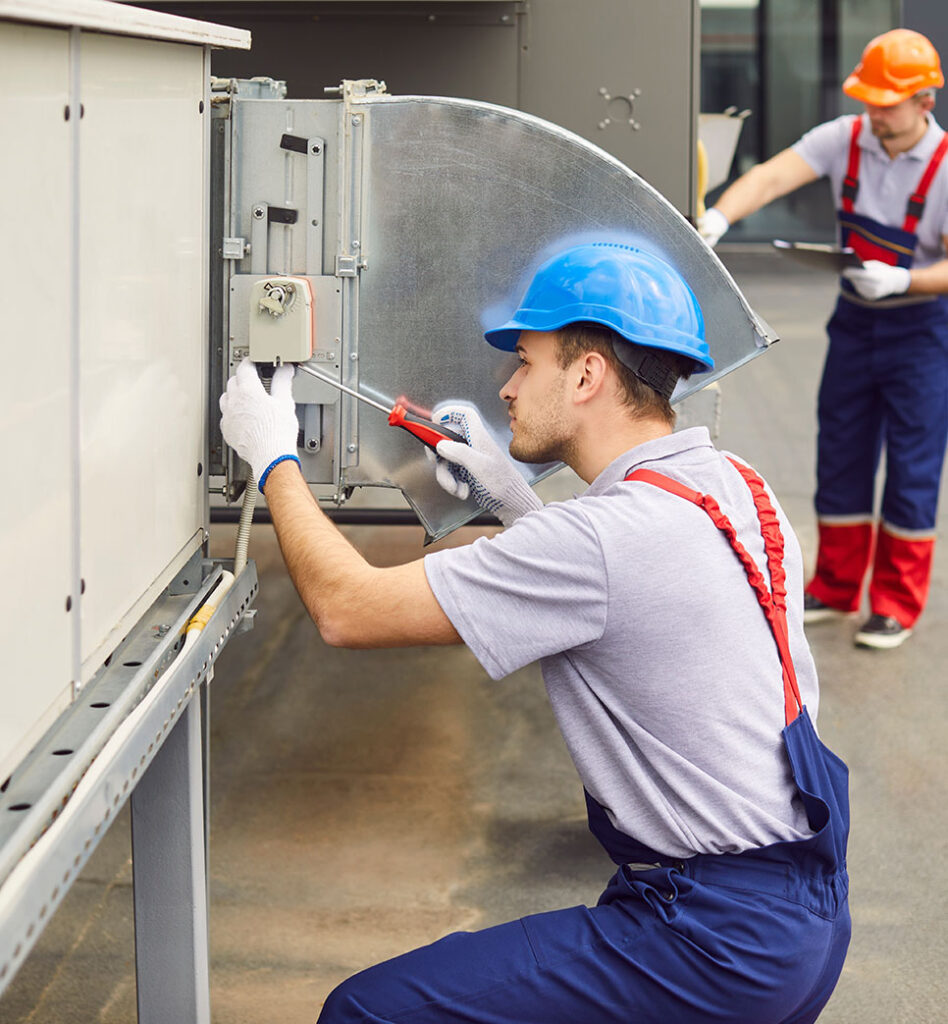
Installation Considerations for Rooftop HVAC
Proper installation is critical to system lifespan and efficiency.
Important factors:
- Structural load capacity
- Crane access and placement
- Electrical and gas connections
- Duct transitions
- Code compliance
Deep dives:
How Bay Area Weather Impacts Rooftop HVAC Systems
RTUs are exposed to the elements year-round.
Bay Area-specific stressors include:
- Coastal salt corrosion
- Wind and rain exposure
- Heat waves and solar load
- Temperature swings
Learn more:
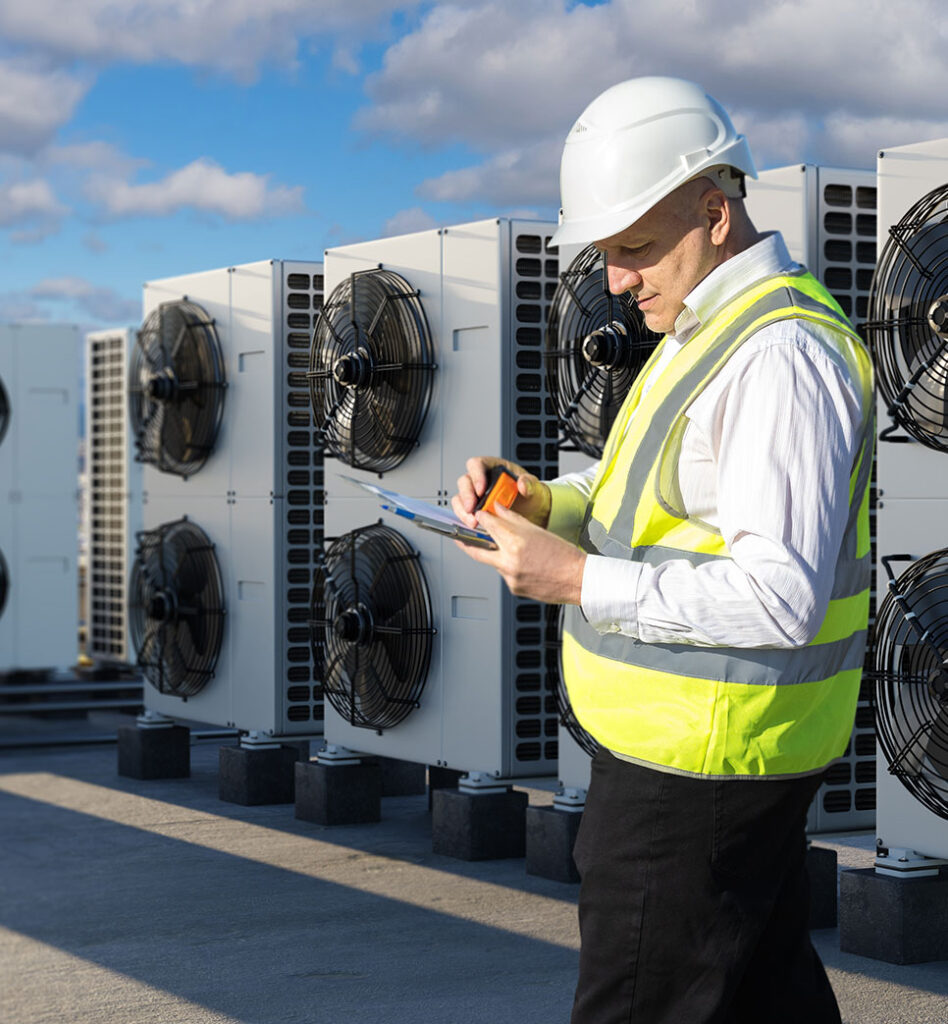
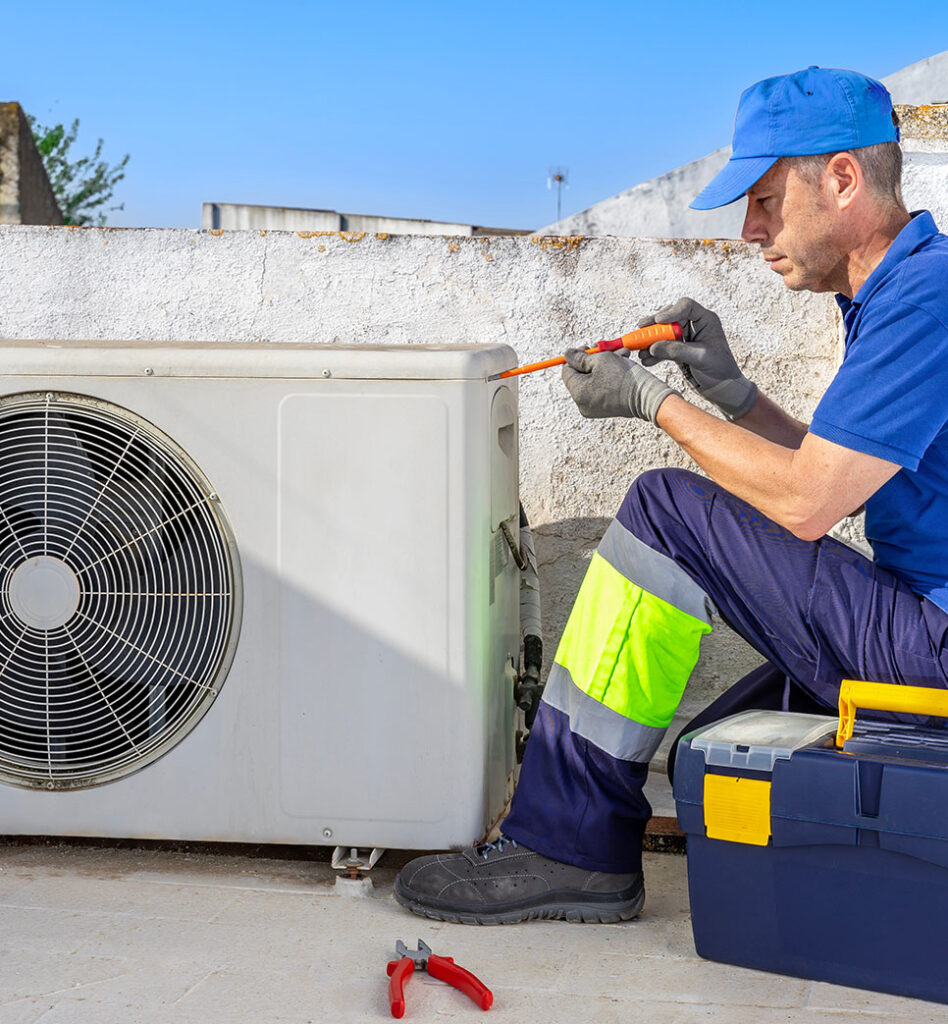
Rooftop HVAC Maintenance & Preventive Care
Preventive maintenance is the most effective way to avoid unexpected failures. Maintenance includes:
- Coil cleaning
- Electrical inspections
- Refrigerant checks
- Airflow optimization
- Control calibration
Explore best practices:
Common Rooftop HVAC Problems
Some issues are far more common in rooftop units than in other systems:
- Refrigerant leaks
- Electrical failures
- Airflow restrictions
- Weather-related damage
- Control board issues
Start troubleshooting:
Emergency Rooftop HVAC Repairs
When a rooftop unit fails, businesses can be forced to shut down.
If you experience sudden failure:
Rooftop HVAC Repair vs Replacement
Deciding whether to repair or replace an RTU depends on:
- Unit age
- Repair frequency
- Efficiency losses
- Downtime costs
Helpful comparisons:
Energy Efficiency & Operating Costs
Rooftop HVAC units have a major impact on commercial energy bills. Efficiency considerations:
- Proper sizing
- Shorter duct runs
- High-efficiency components
- Regular maintenance
Learn more:
Regulations & Compliance for Rooftop HVAC
Bay Area rooftop HVAC systems must comply with:
- California Title 24
- Local building codes
- EPA refrigerant regulations
- OSHA safety requirements
Related reading:
Choosing the Right Rooftop HVAC Partner
Rooftop HVAC work requires specialized experience.
Look for:
- Certified commercial technicians
- Rooftop safety training
- Preventive maintenance programs
- Emergency response capability
Why certification matters:
Service Coverage Area
Emergency HVAC repair available across:
The Rooftop HVAC Authority Hub
This master guide is the central resource for rooftop HVAC systems in the Bay Area. Every rooftop-related article, service page, and case study should connect back to this page — making it the definitive reference for commercial rooftop HVAC knowledge.
If you’re planning:
- Rooftop HVAC installation
- Preventive maintenance
- Emergency repairs
- Or long-term system upgrades
This guide is your starting point and your long-term resource for rooftop HVAC success.